
Party Set-up Tips and Tricks
Welcome to the Party Prep Hub! We’re all about making your party setup a breeze, so you have more time + energy to enjoy the moment! Here are some simple tips and tricks to help you get things together in a flash. And remember, if you have any questions or need a little extra help, just shoot us a message - we’ve got your back!
Looking for Holiday Box Tips and Tricks?
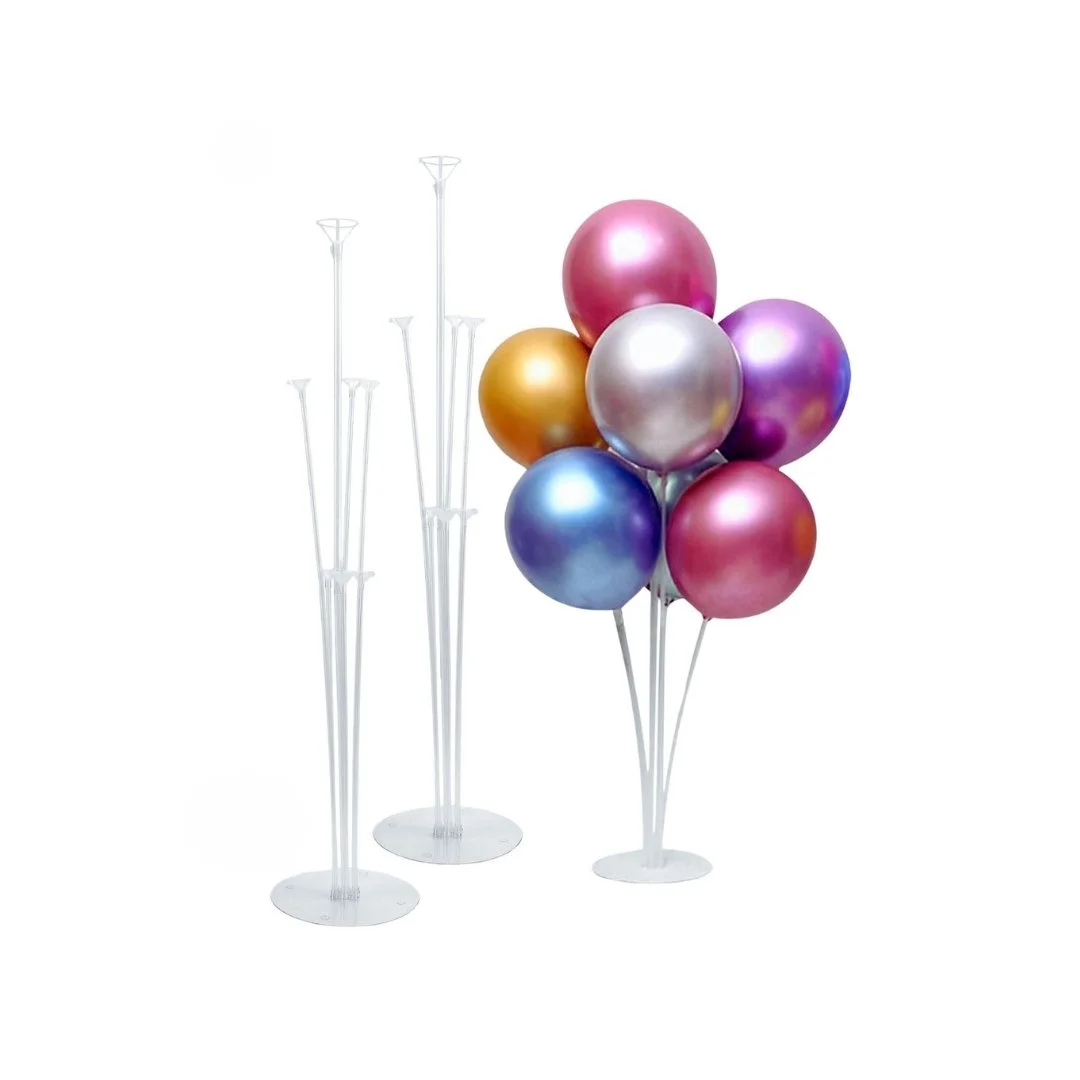
Balloon Stand Instructions
Balloon stands make creating fun and festive balloon arrangements a breeze. Here’s why we love them:
No Helium Needed: Create playful balloon displays without the hassle of running to the store for helium or investing in a costly helium tank.
Easy to Assemble: The entire process of inflating the balloons and setting up the stand should take 10-15 minutes max—less once you become a pro!
Long-Lasting: Your balloon arrangements will stay inflated for days (or even weeks!), allowing you to plan ahead and avoid the stress of last-minute prep.
Reusable: Set up beautifully arranged balloon displays time and time again!

Each stand includes the following parts:
Top balloon holder (1pc.)
Regular balloon holders (6pcs.)
Stand base (1pc.)
Large connector stem (1pc.), regular connector stems (3pcs.)
Short thin pipes (3pcs.), tall thin pipes (6pcs.), tall thick pipes (2pcs)
Balloon Stand Assembly:
Connect the pipes: Attach the three short, thin pipes to the three long, thin pipes using the provided stems. Use the thicker stem to join the two tall, thick pipes.
Create the display: Position the thick pole in the middle, then alternate the short and tall pipes in a circle around it for a balanced, eye-catching setup.

To attach the balloons:
Secure the balloon: Place the knotted end of the balloon into the holder cup.
Lock it in place: Gently pull the knot through the slot to ensure it’s snug.
Assemble: Slide the holder cup onto the corresponding pipe.
Optional: Use the glue dots from your Party Prep Pack to attach the balloons together if desired.
P.S. Your balloon kit includes an extra balloon—because we’ve all been there!

Additional Tips:
Does your party box include confetti balloons? Static electricity is your secret weapon! After inflating, rub the balloon with a cloth, sweater, or even your hair to create static. This helps the confetti "float" and stick to the sides for a magical effect. Pro tip: Don’t overinflate—when these balloons pop, they make a spectacular mess!
Hosting your party outdoors? Use the included glue dots from your Party Prep Pack to secure the stand to your table and keep it steady in a breeze. For extra support, you can also place something heavy on the base to prevent any windy mishaps.
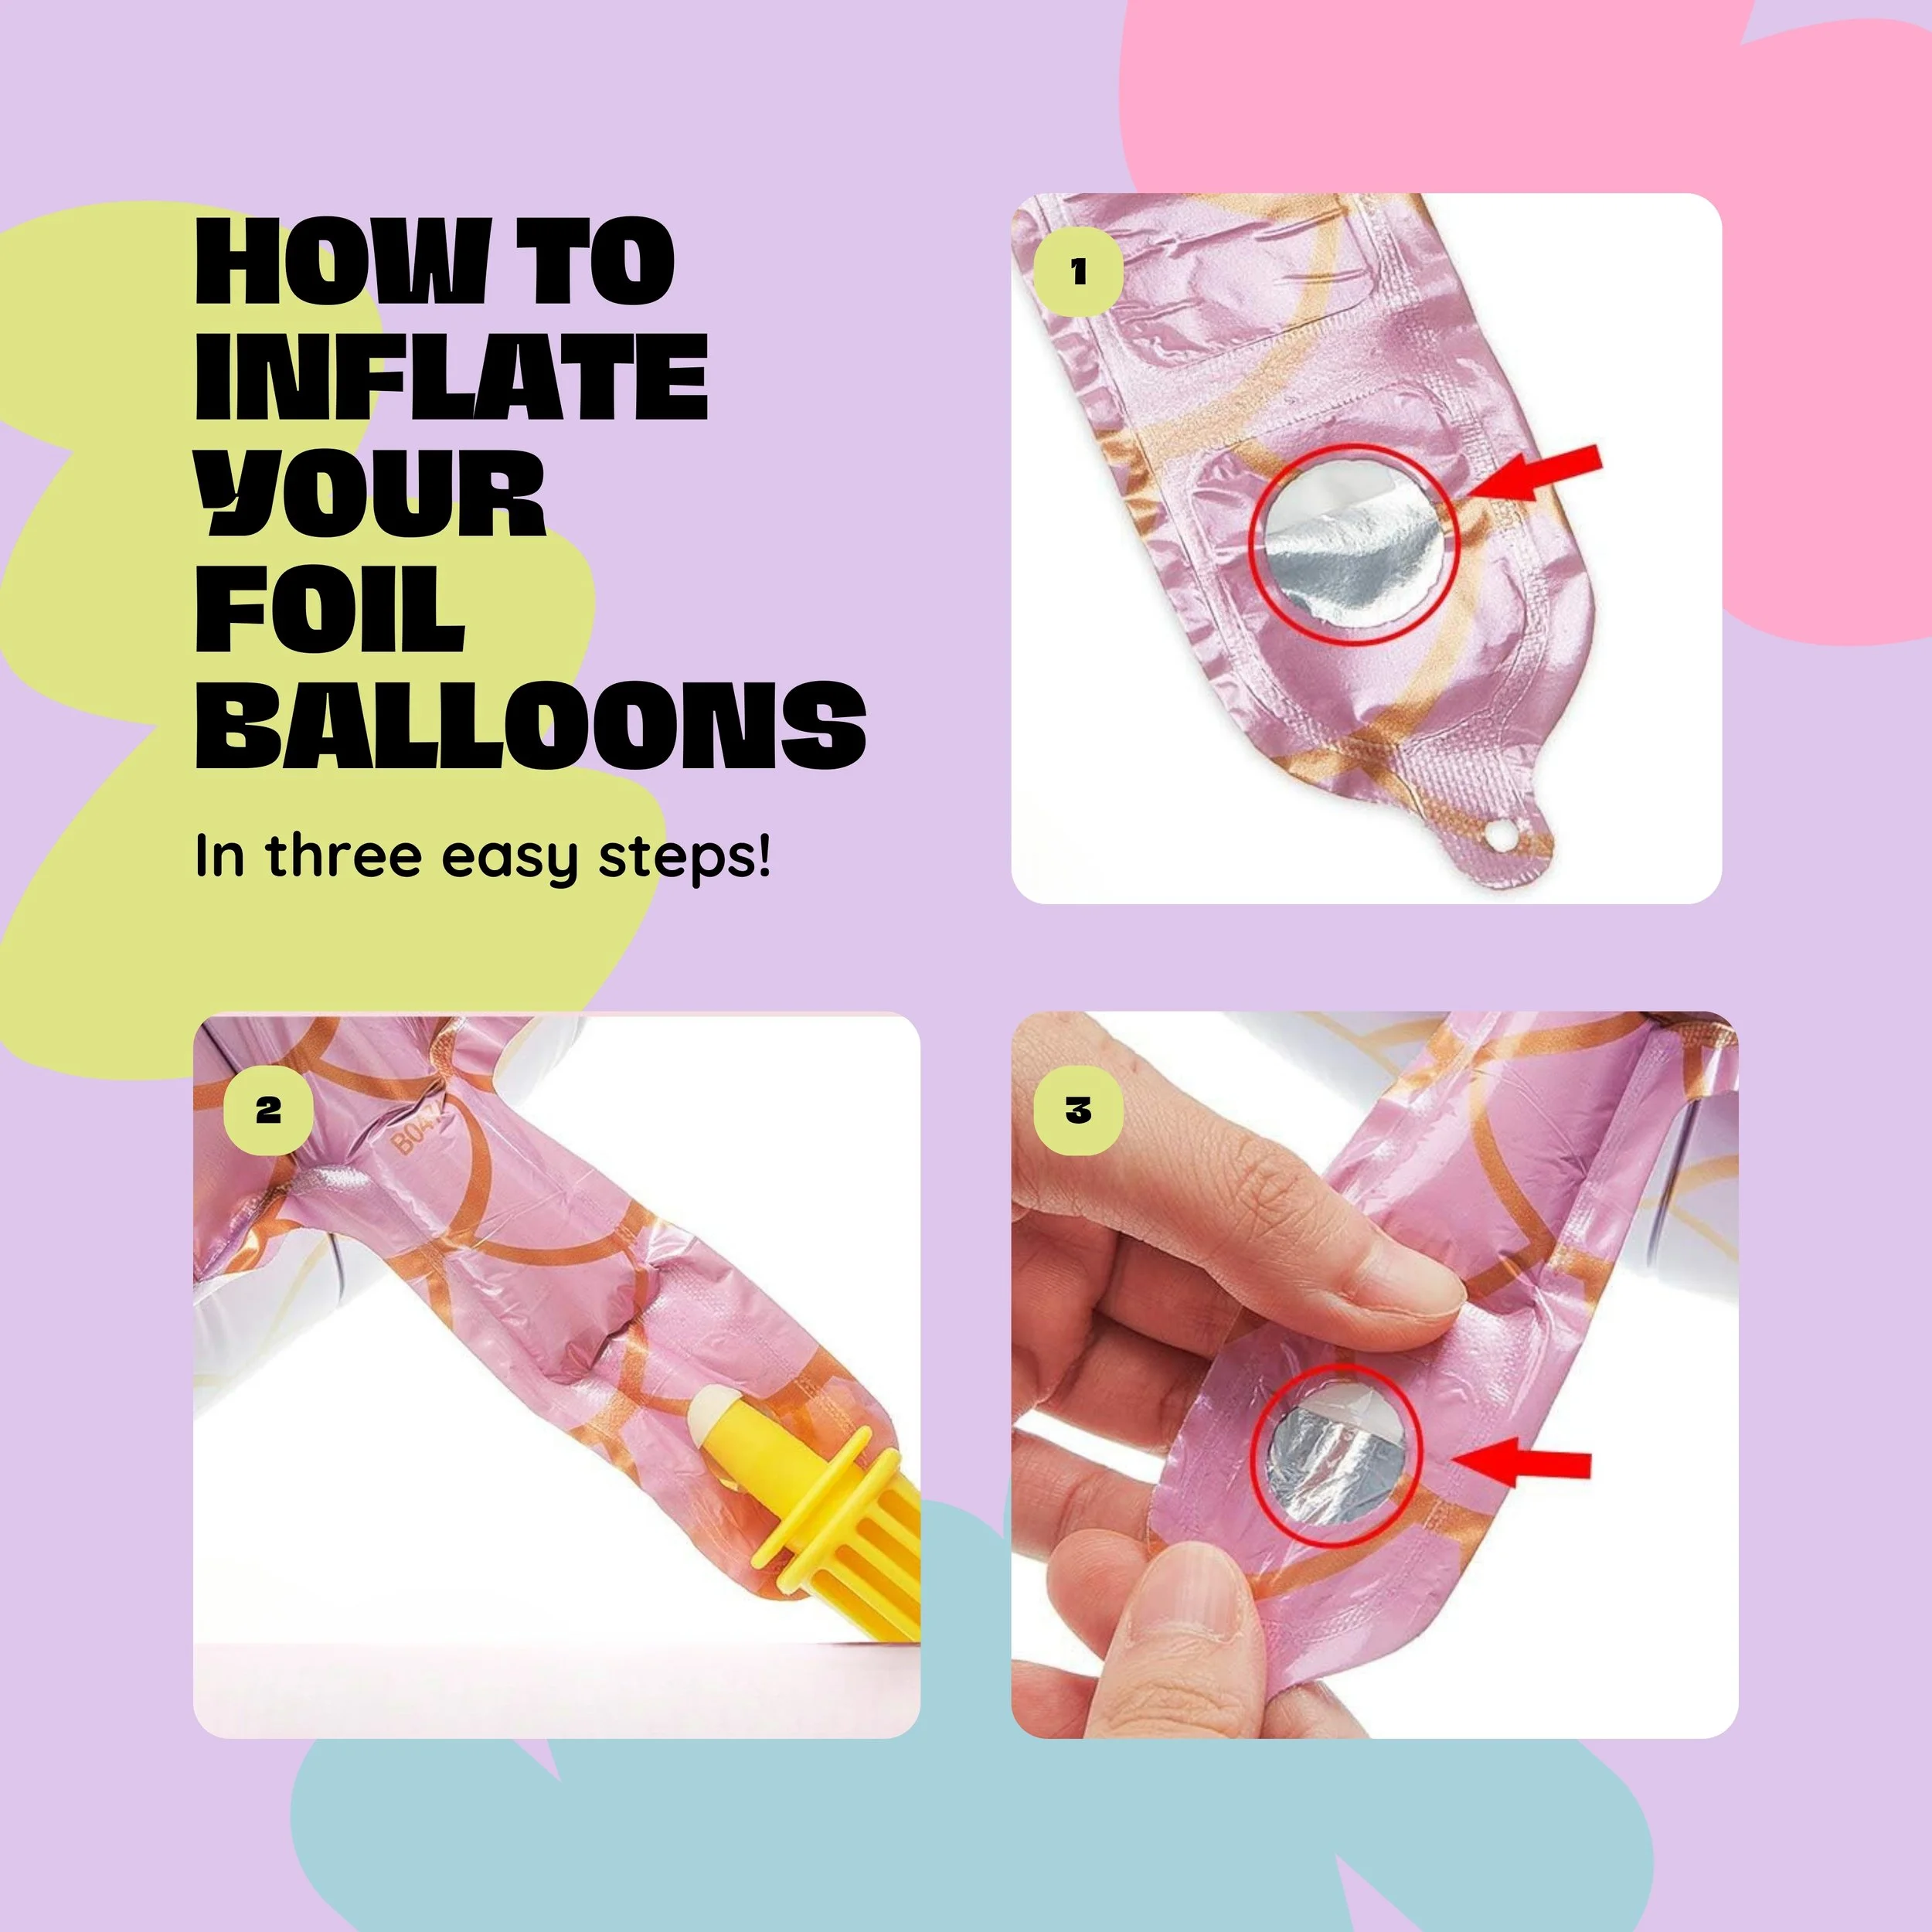
Foil Balloon Instructions
Most party stores offer helium filling for your foil balloons, but if you're using them for balloon stands, a balloon arch, or just prefer them not to float, here's a simple DIY guide to inflating them yourself!
Find the filling tab on the outside of your balloon (note that more intricate balloons may have more than one tab).
If you don’t have an air pump you can use one of the tubes from your balloon stand kit or a straw to inflate. Carefully separate the 2 layers of plastic on the tab, and slip the tube or straw in until you break the inner seal (about 1-2 inches - you’ll feel the seal snap). Pinch around the tube/straw to prevent air from escaping as you inflate. Do not over-inflate! Aim to fill it to about 90% full.
When inflated, pinch the filling tab between 2 fingers and gently pull out the tube/straw. This will automatically secure your balloon as the filling tab is self-sealing!
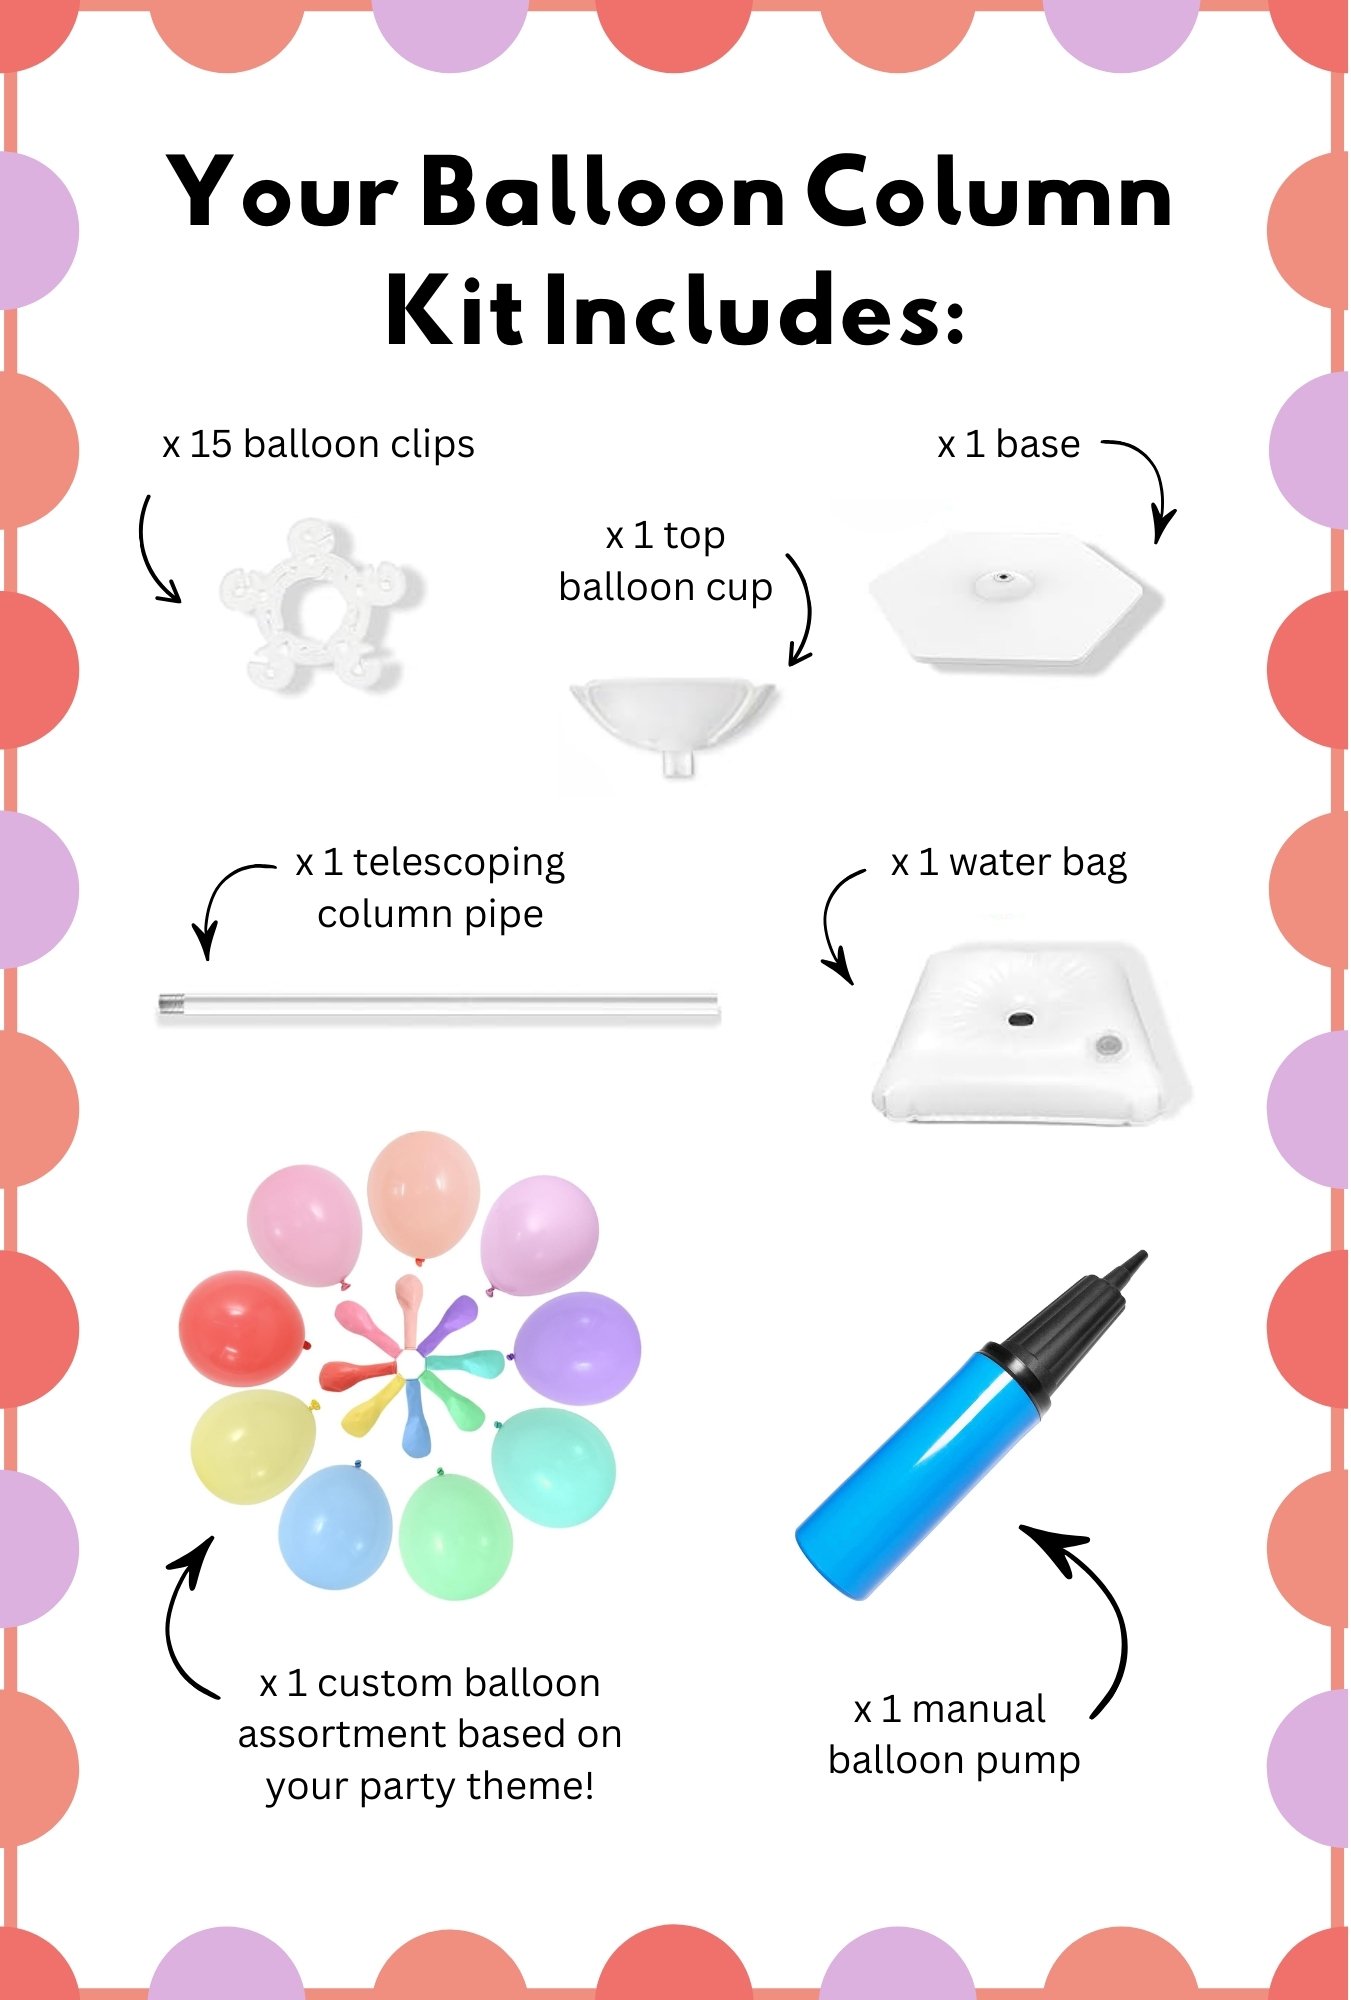
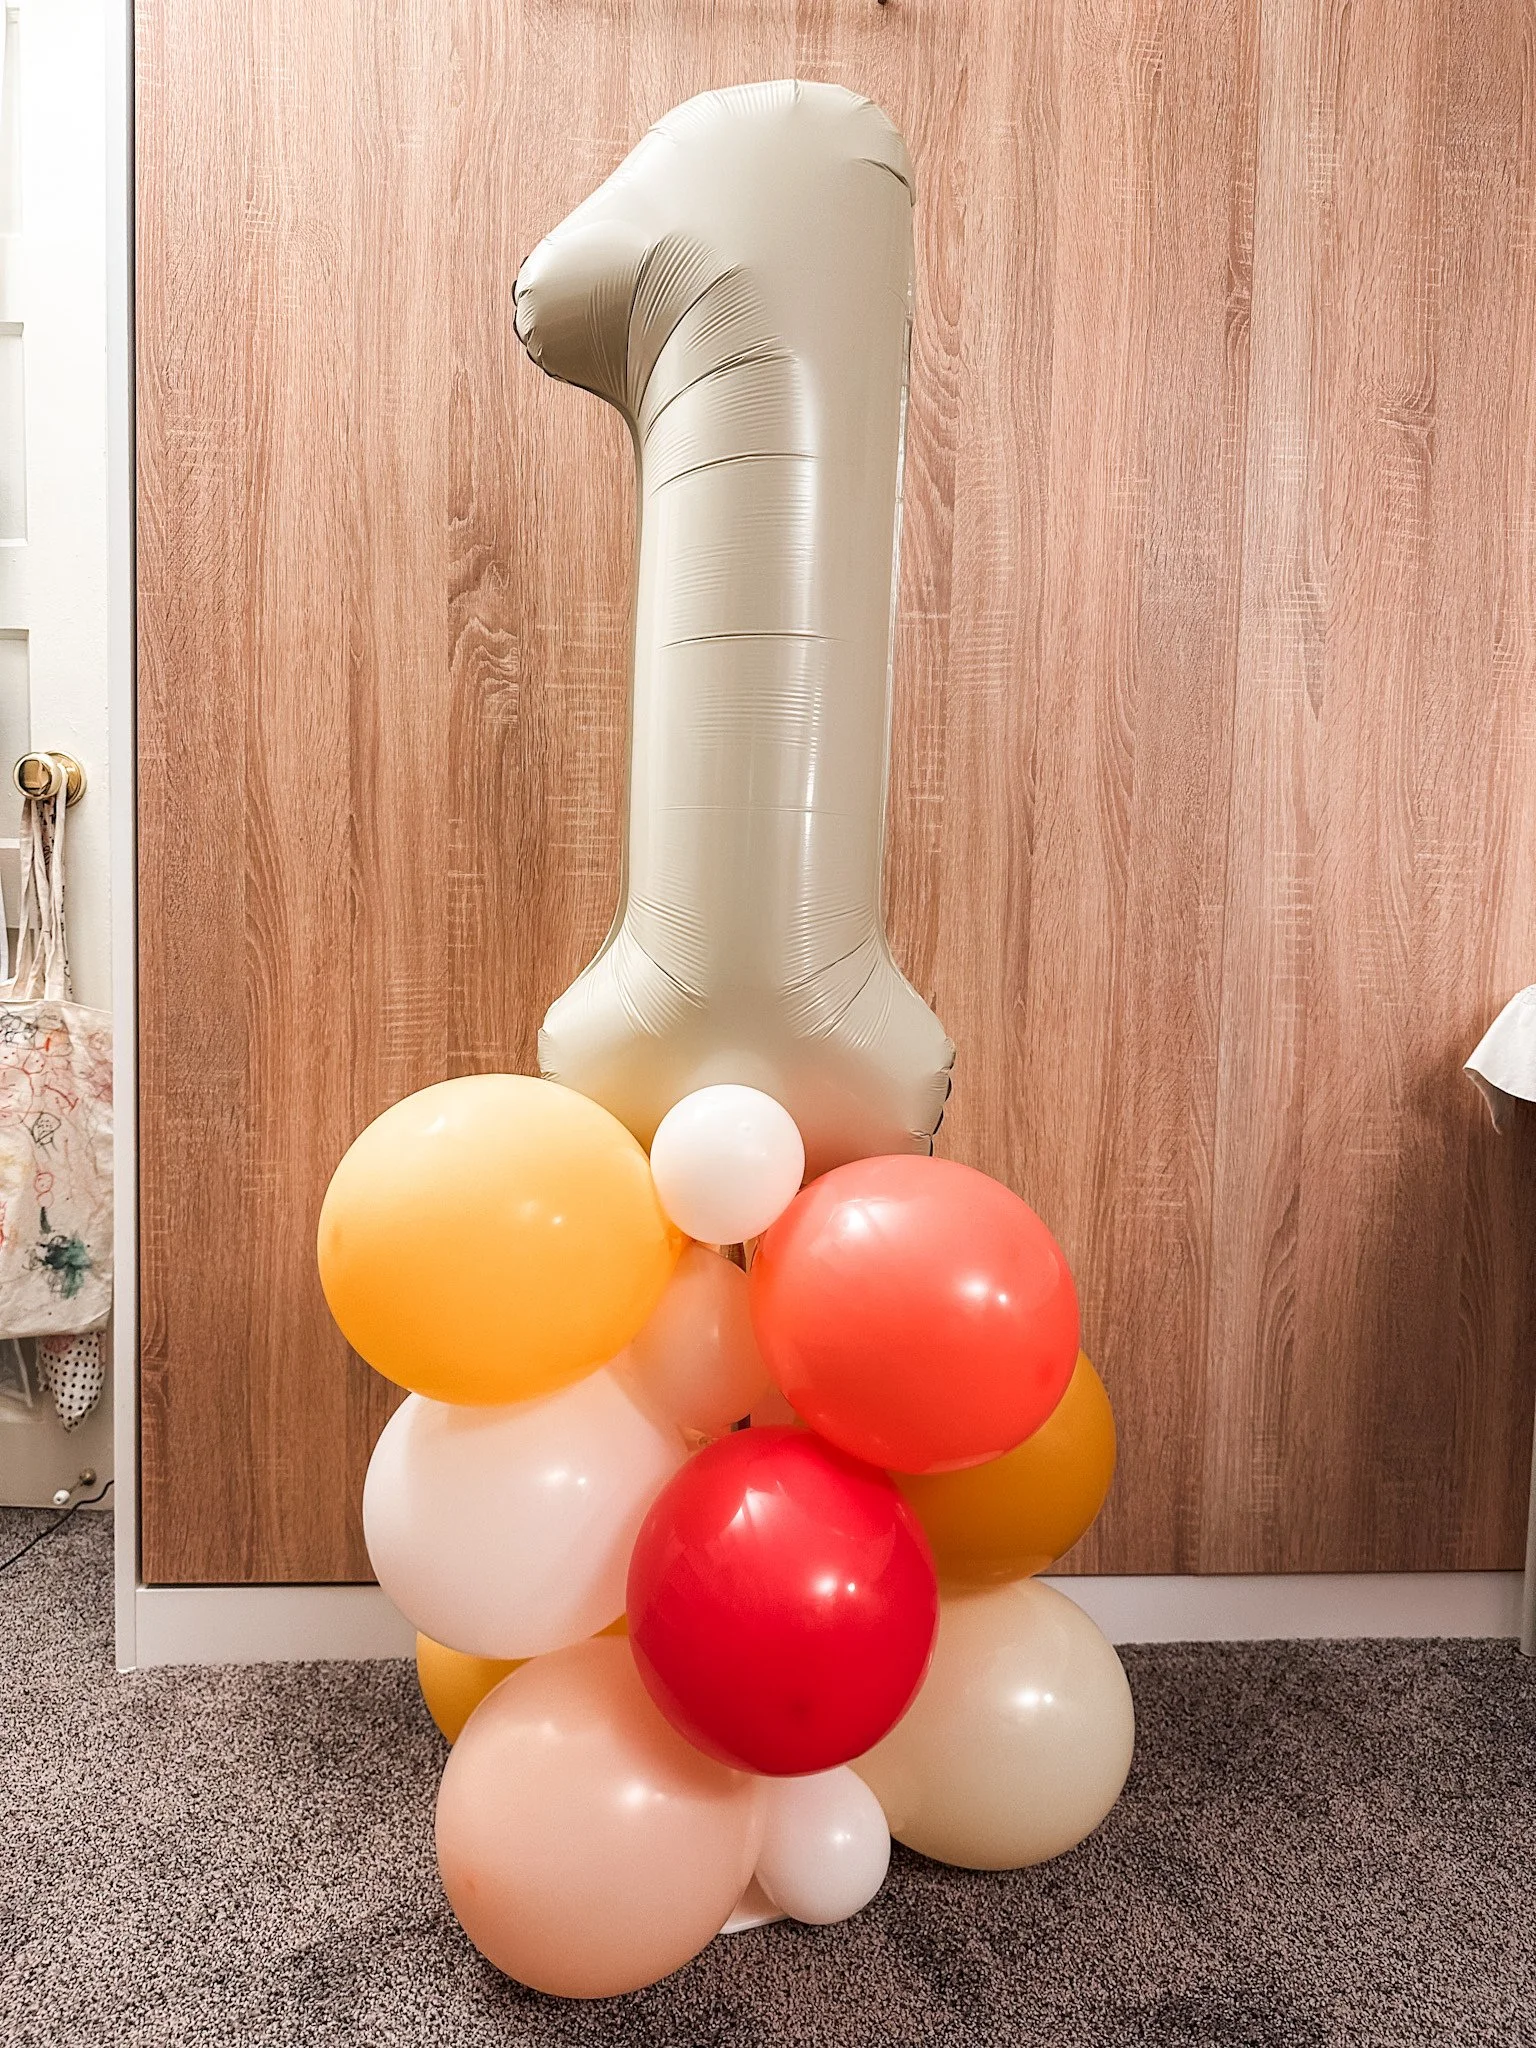
Balloon Column Instructions
1 - Twist it together: Screw the telescoping column into the base.
2. Weigh it down (optional): Fill the water bag and place it on the base with the closure valve facing up. This helps keep everything steady—especially outdoors or with rowdy kids running around!
3. Adjust the height: Pull the telescoping pole up to your desired height. You can tweak it as you go!
4. Blow up your balloons: Inflate the balloons to uniform sizes—think round, not football-shaped.
5. Add balloons to the clips: Slide the knot of each balloon into the notches of a balloon clip. You can fit up to 5 balloons per clip, but 4 works great too, depending on size
6. Stack your layers: Repeat the clipping and stacking process until your column is your desired height.
7. Twist for a snug fit: Rotate each balloon layer slightly to fill in gaps and make the column look nice and full.
8. Add your topper: For jumbo foil balloons (like letters or numbers): Feed the tail through the oval cutout in the top balloon cup, then wrap it around the adjacent tab as many times as you can. For jumbo latex balloons: Feed the balloon knot through the notch on the top balloon cup—just like you did with the regular balloon clip balloons.
9. Attach the topper: Twist the topper cup onto the top of the column until it feels tight.
10. Add flair! (optional): Stick on any extra decorative foil balloons using the glue dots included in your party prep pack. Leftover balloons? Inflate them smaller and fill in any gaps!
Additional Tips:
Once the topper is secured, gently push down to “nestle” it into the balloon layers—it helps your jumbo foil stay upright.
If you're transporting the column: unscrew the topper and lengthen the pole a bit to ensure the layers stay put. It fits great in the back of an SUV this way!
Your stand is reusable! Save it for your next celebration and just order a new custom balloon column kit to match your theme!
Example with added decorative balloons (included in some kits!).
Example of filling in with smaller balloons (same size, just less air!).
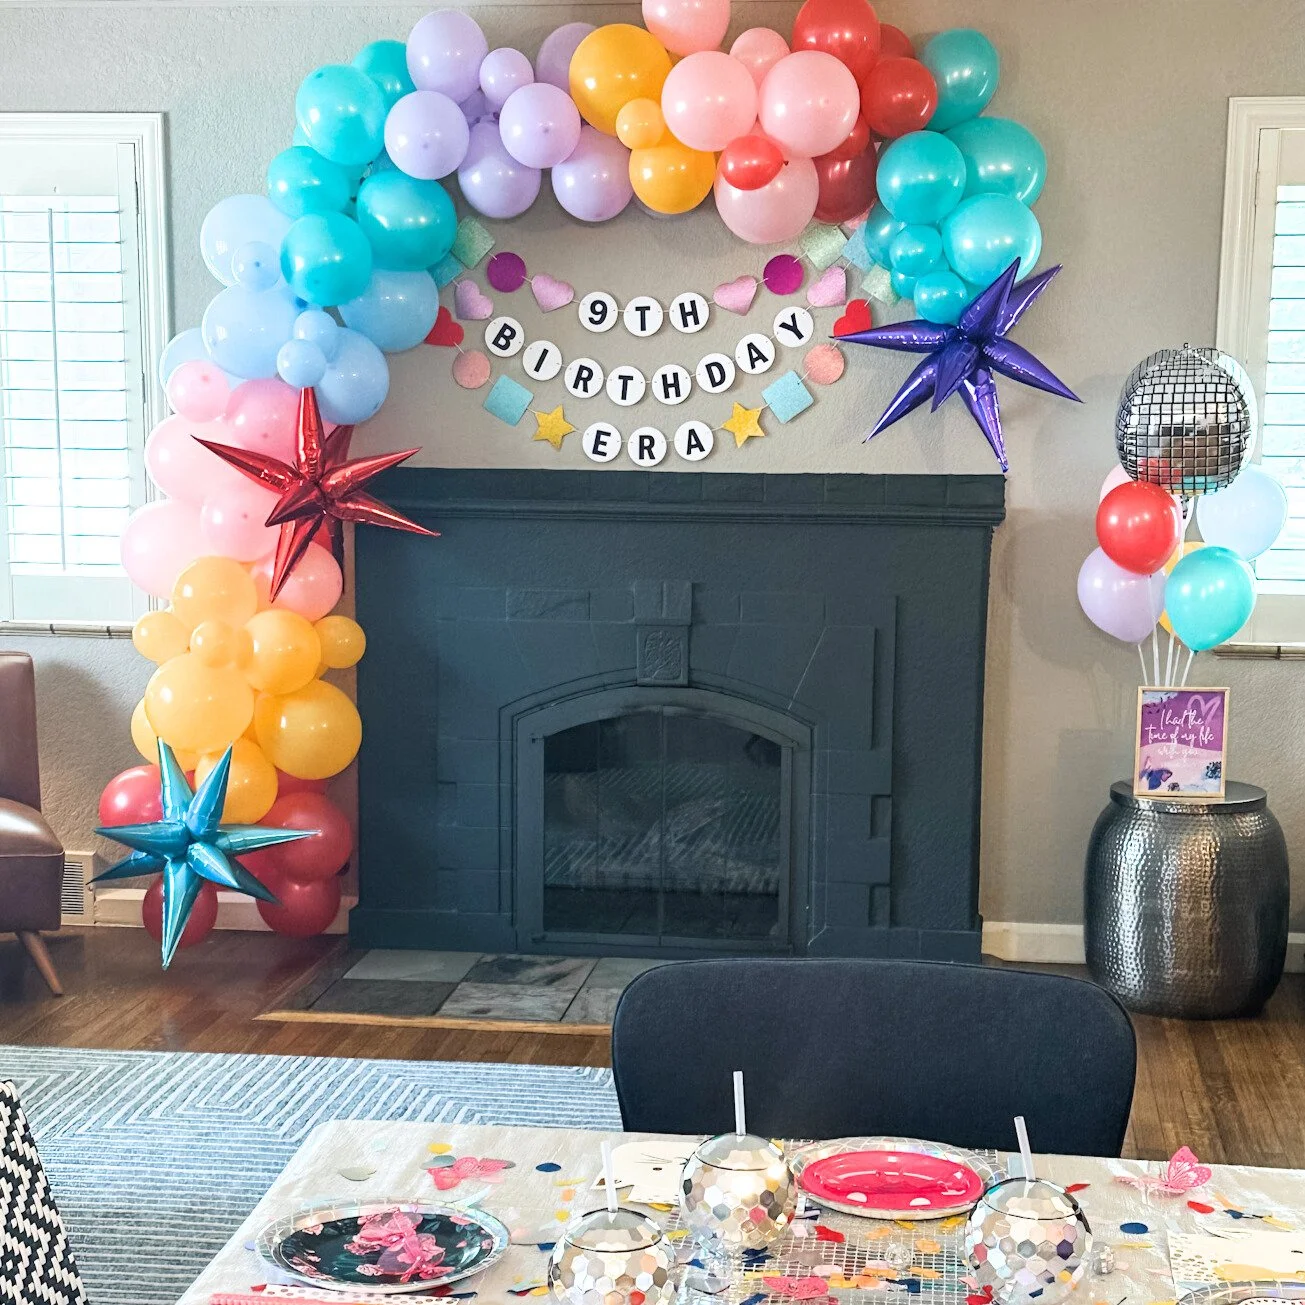
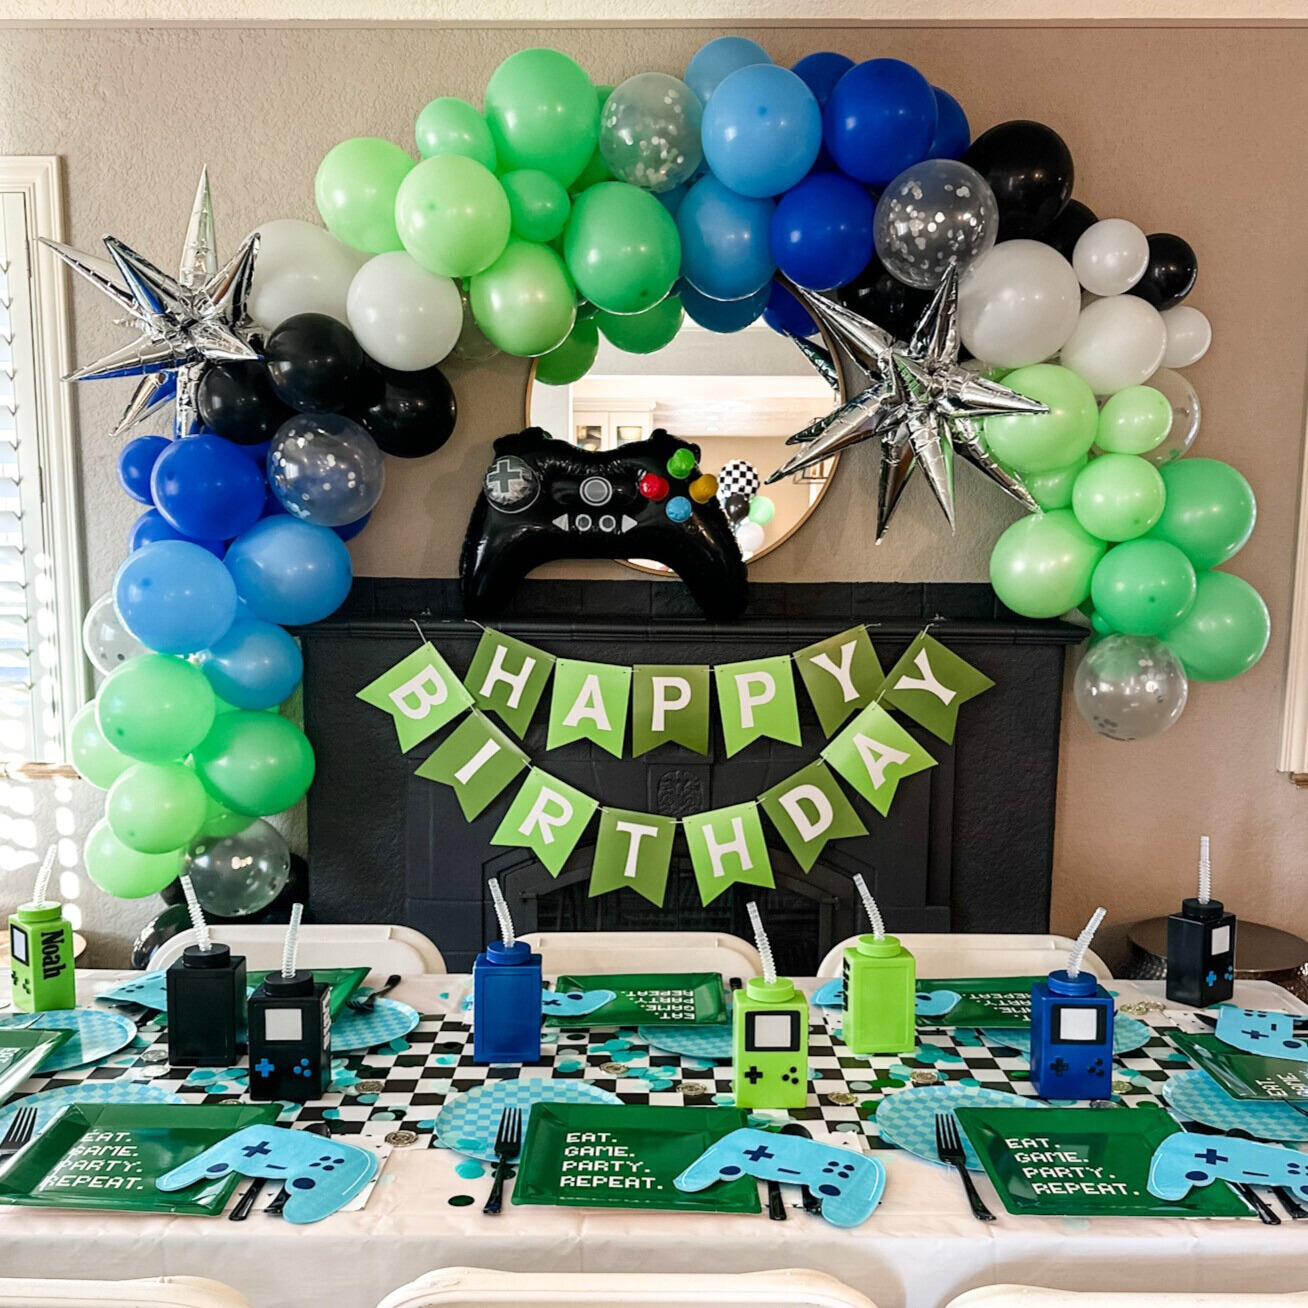
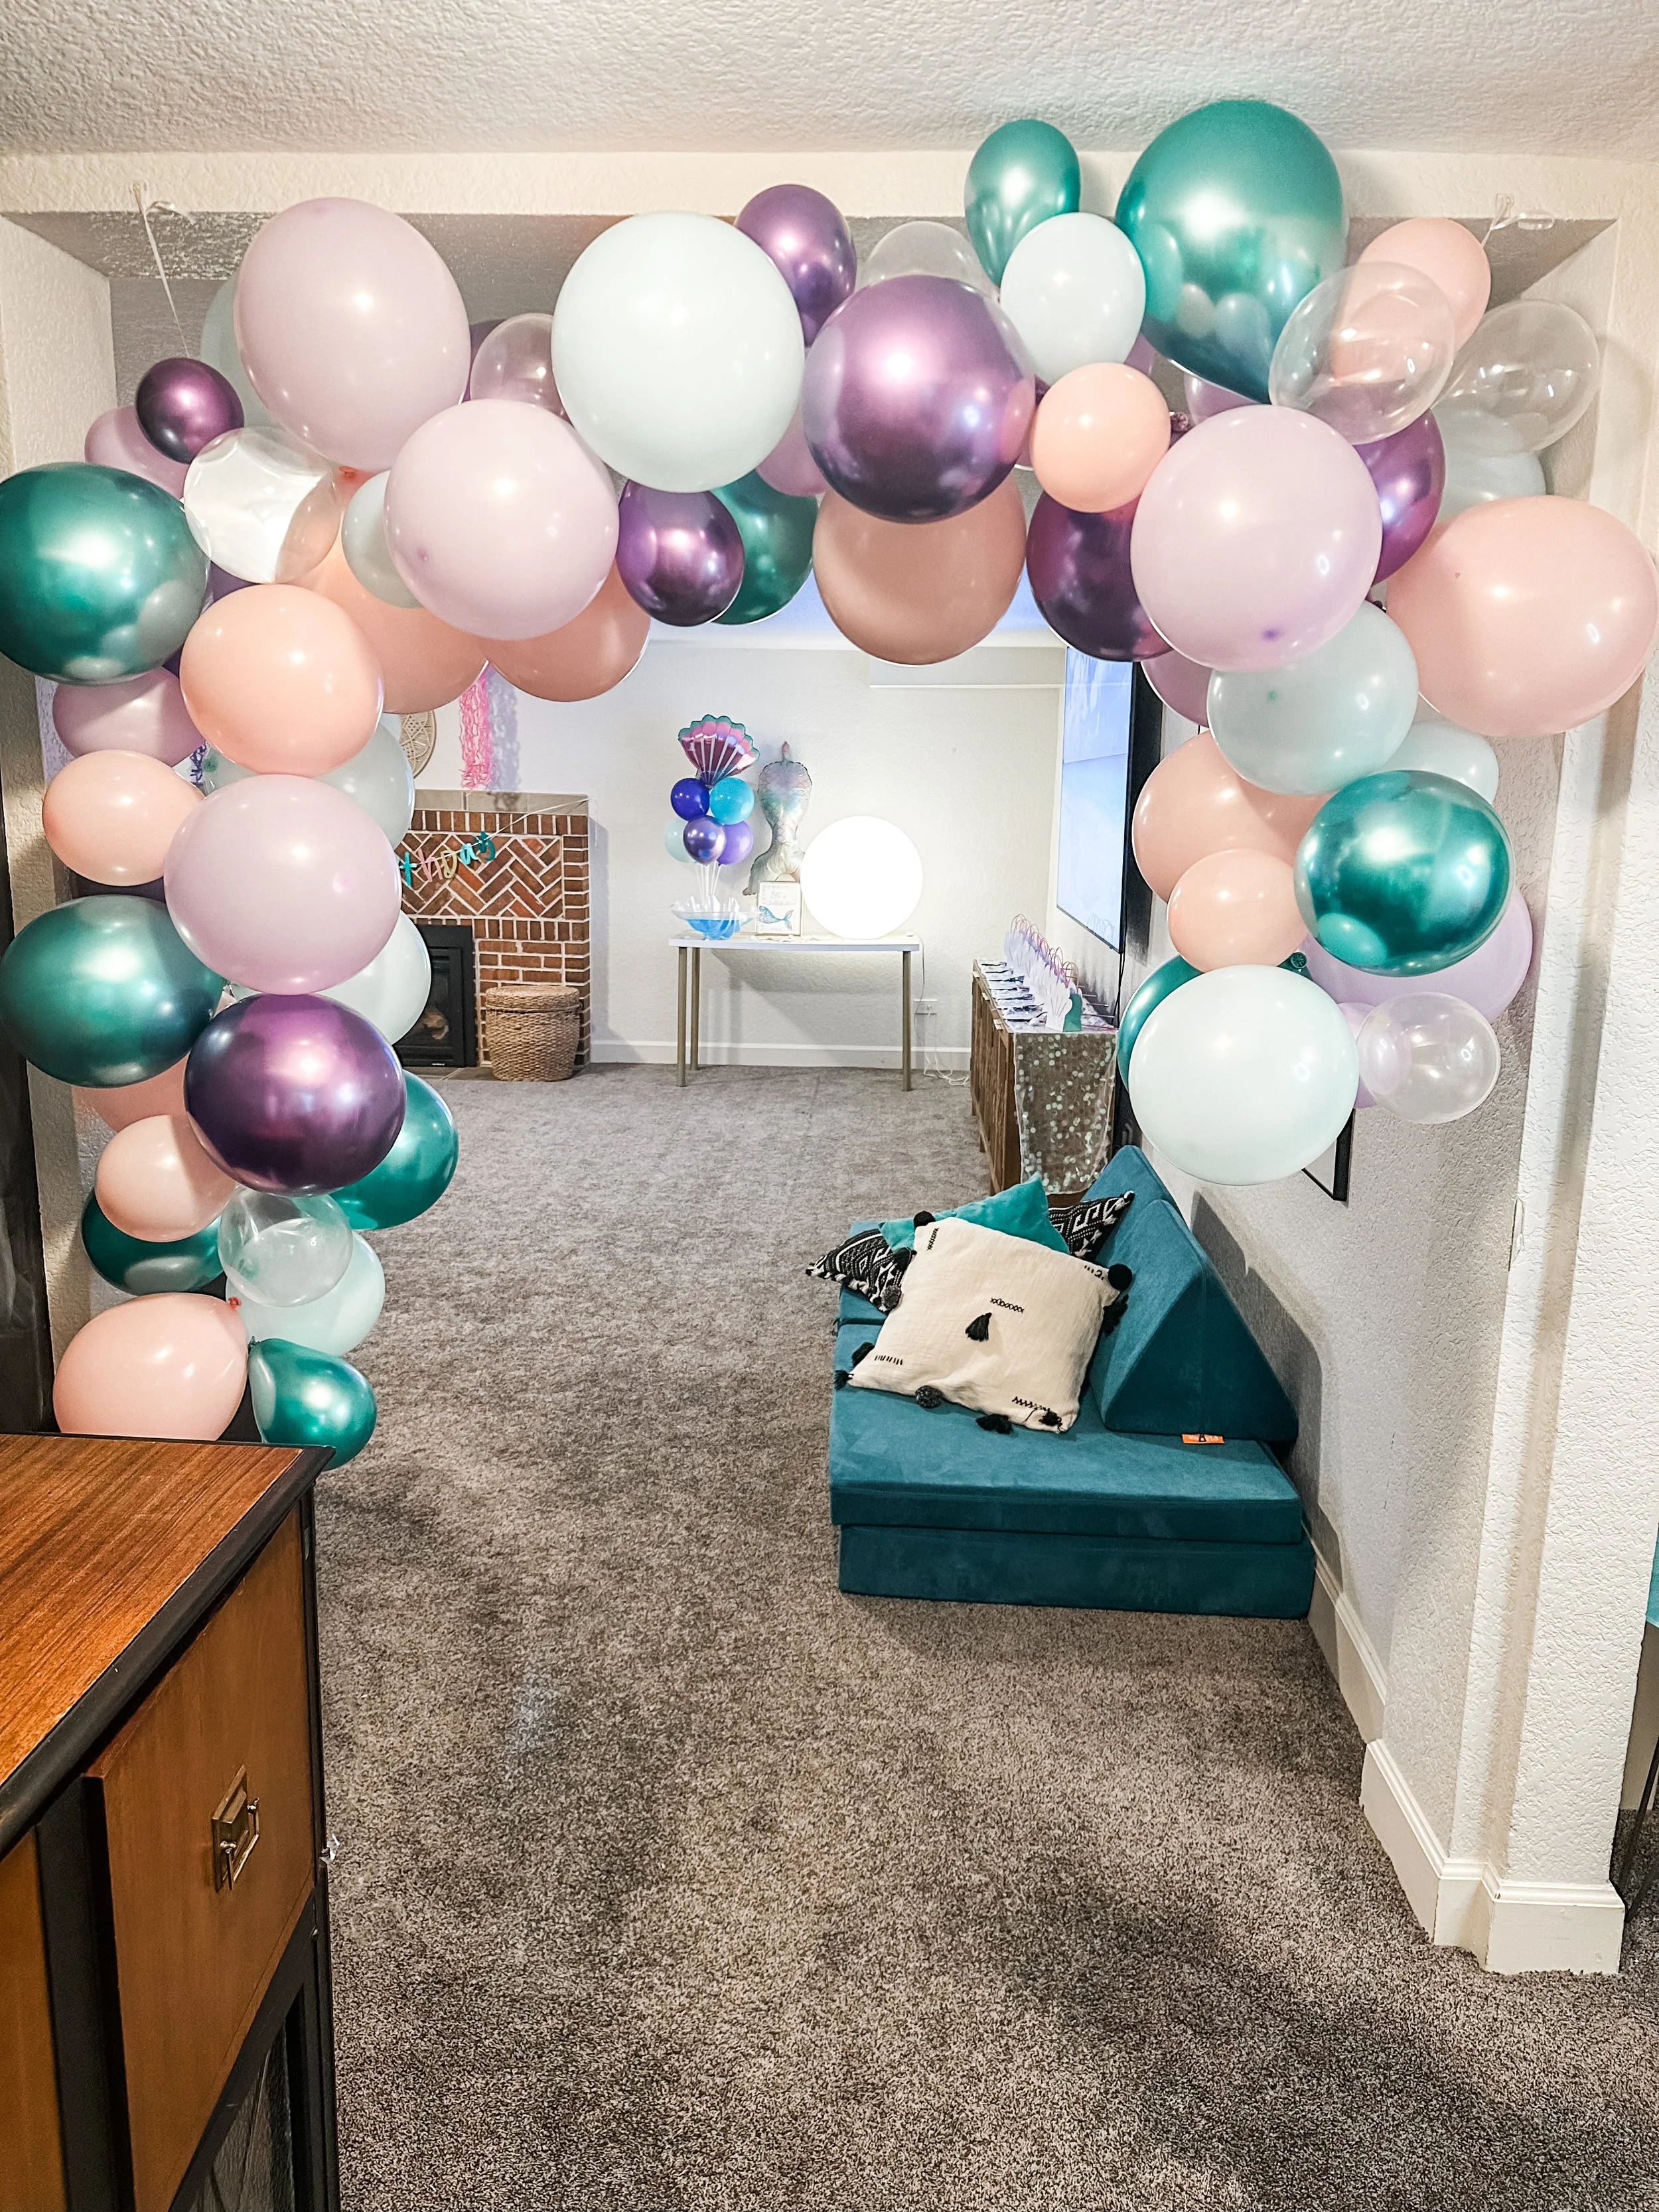
Balloon Arch Instructions
Want to make your party look like you hired a pro? A balloon arch is one of those instant wow decorations that takes your space from plain to Pinterest-worthy in just a few hours - and yes, you can totally pull it off yourself! Here’s your step-by-step guide to creating a gorgeous balloon arch without the stress.
Pro Tips Before You Start
Plan on about 1.5 hours for your first balloon arch. The more you make, the faster you’ll get!
You can inflate balloons 1-2 days before your event since you’re using air, not helium. (One less thing to do on party day - yay!)
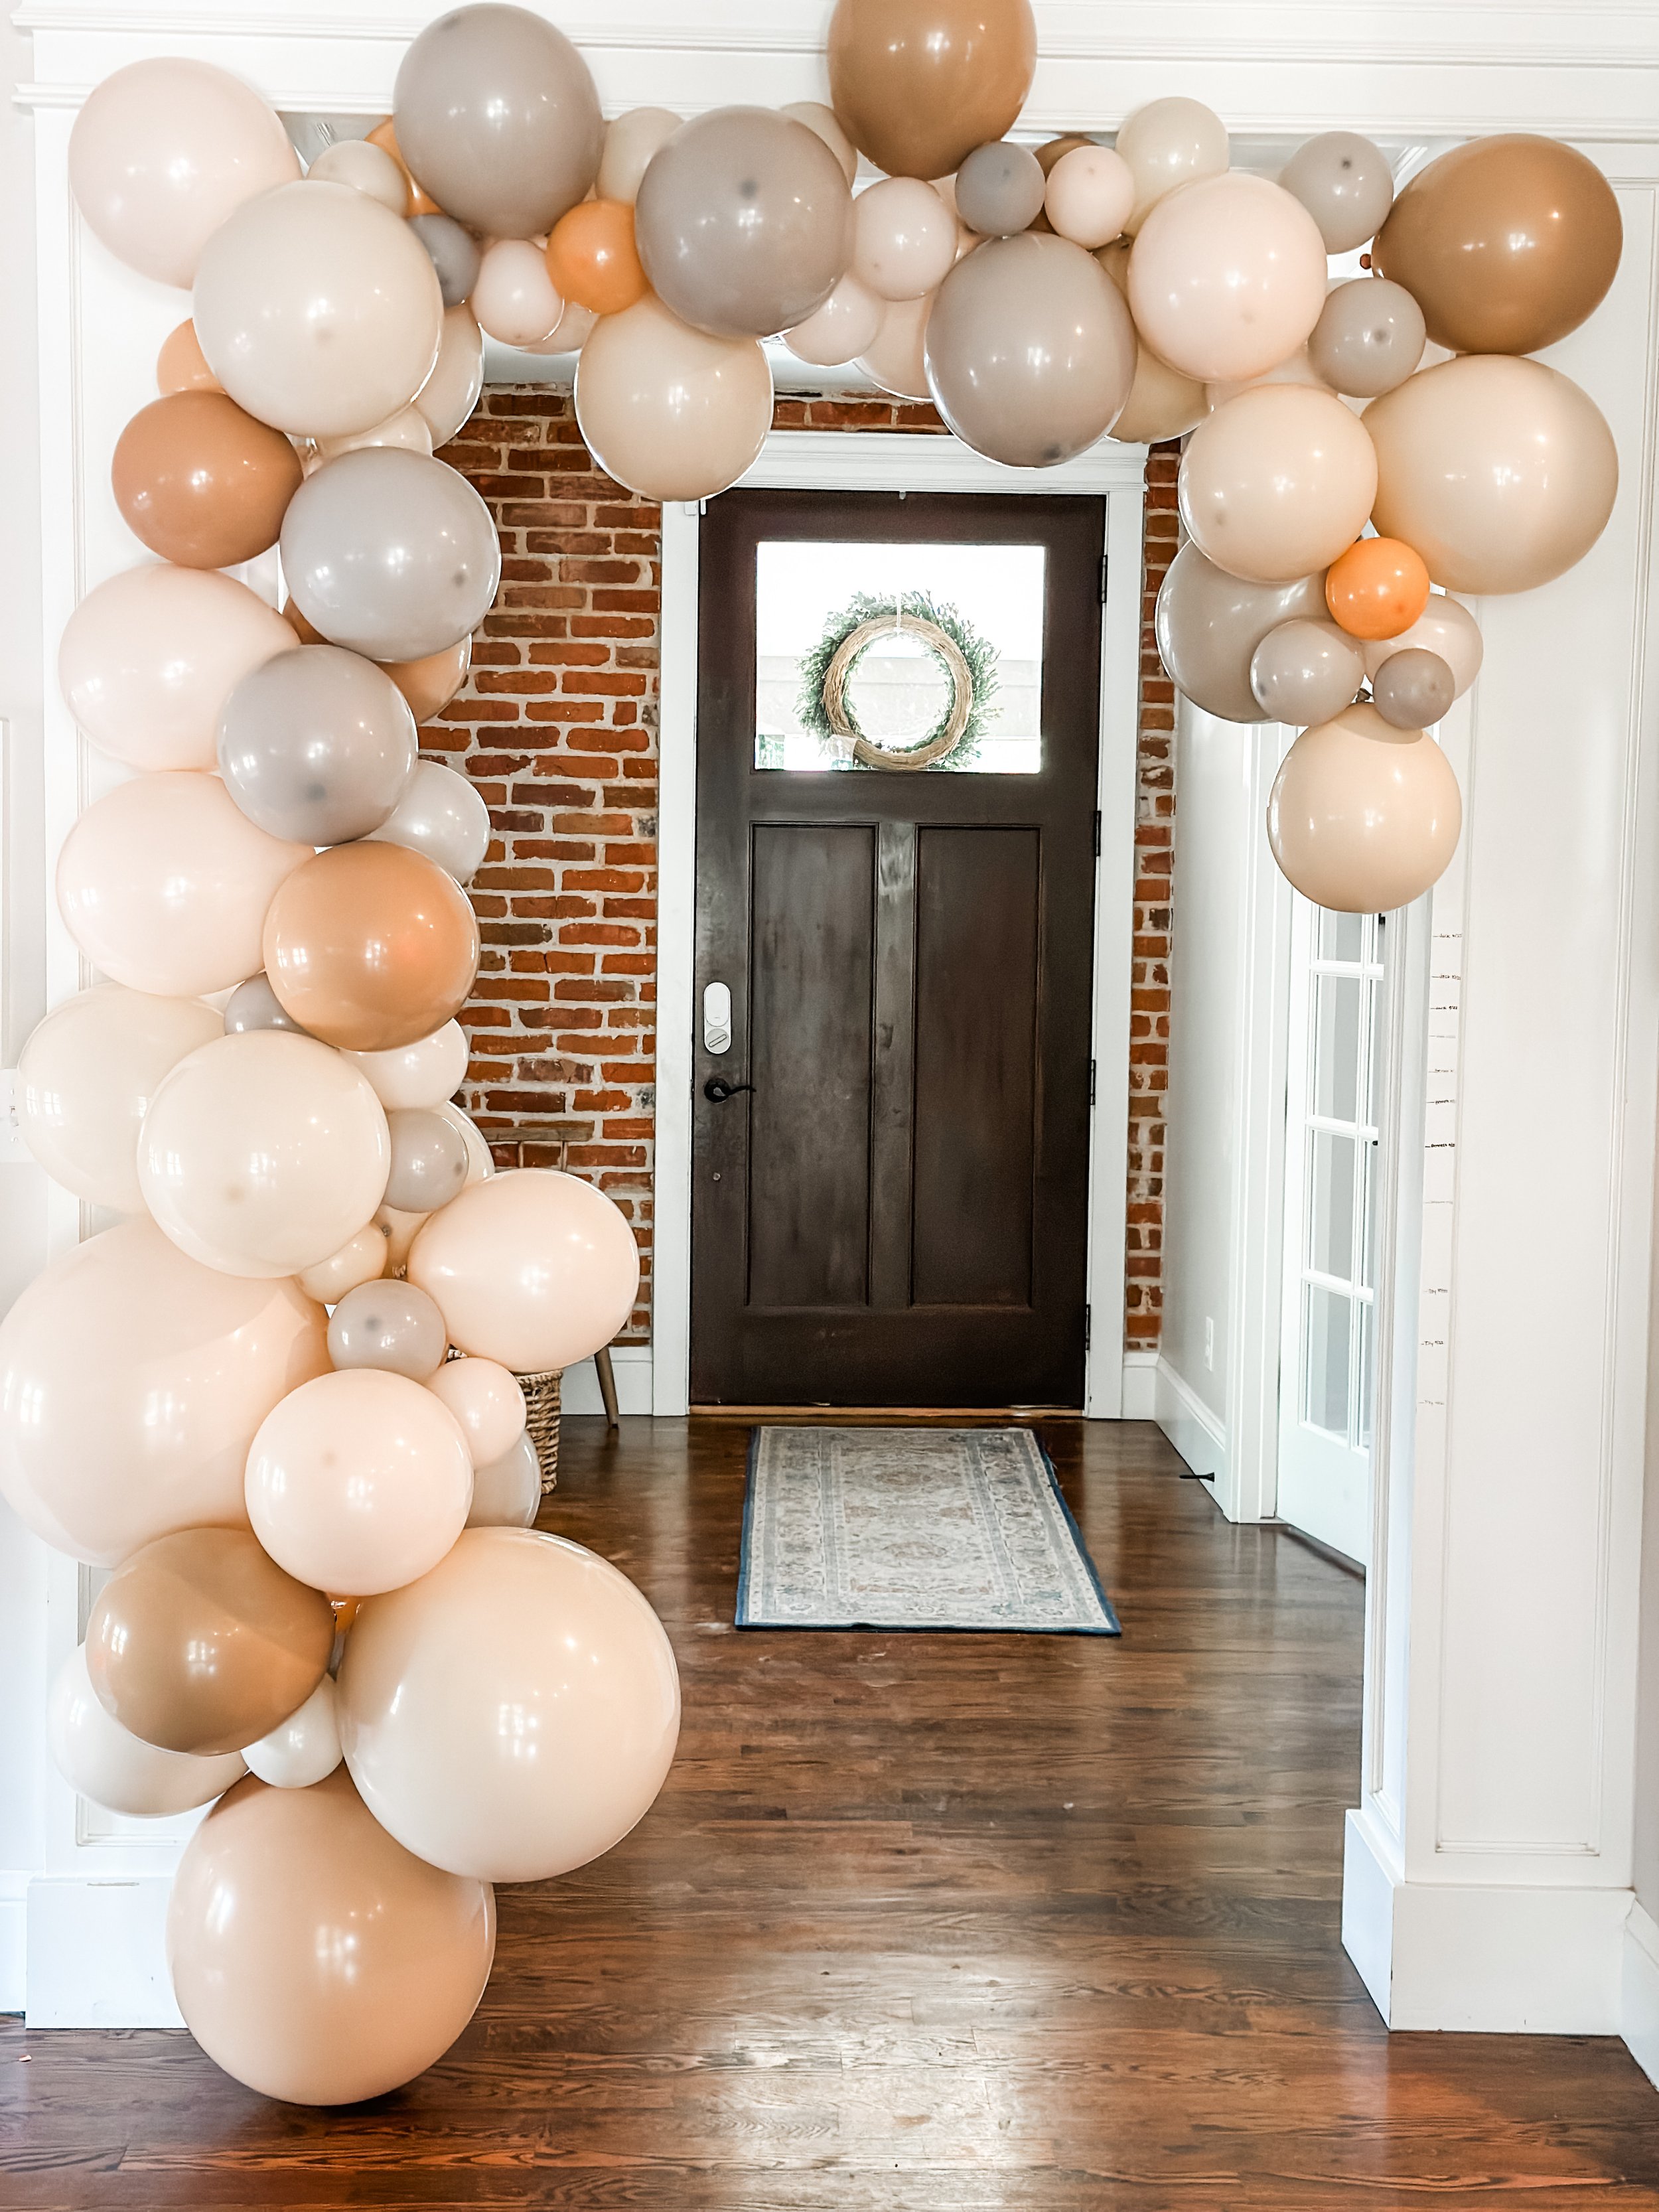
Step 1: Decide on Size
Decide on your arch’s location - over a dessert table, framing a doorway, above the mantel, or as a photo backdrop. Knowing your spot will help you plan the right size and length.
Garland Length Cheat Sheet:
5 feet: A small + sweet accent (about 50 balloons)
10 feet: Perfect for a doorway or small backdrop (around 100 balloons)
15 feet: Statement-maker for bigger spaces (about 150 balloons)
Step 2: Gather Your Supplies
Your Real Happy Hours Balloon Arch Kit has everything you need:
Balloons in a mix of different sizes + colors
Balloon tape (the magic strip that holds it all together)
Glue dots (to stick in the little gap-filling balloons)
Command hooks (in your Party Prep Pack) + string (for hanging)
Manual balloon pump (in case you’re not ready to invest in an electric one yet)
Optional extras: Some arch kits include giant or foil balloons to add extra texture and drama
Step 3: Build Your Arch
Now for the fun part!
Inflate Balloons: Pump them up to about 90% full, then gently press each one against a flat surface (or your belly!) while letting out a smidge of air. This makes them rounder and more uniform.
Make a Plan: Decide on your style - an ombré look with clusters of similar colors, or a playful, random mix with alternating colors. Not sure where to start? Use the photo from our website or your custom mood board as inspiration!
String Them Up: Start with your standard-size balloons, leaving about a foot of empty tape at each end for easy hanging and adjustments. Push balloon knots through the large hole in the tape, then slide into the smaller one to lock in place, alternating sides for balance. If things start feeling crowded, just skip a hole or two and keep going!
Hang It: Tie string through empty garland cutouts to hang, starting near the center. Make a loop from the string you threaded through the cutouts, and secure the opposite end onto the hook of your command strip on the wall. You’ll want at least 3 hanging points (middle + both ends), but may need more based on the size and shape of your arrangement.
Fill Gaps: Step back, admire your work, and use glue dots to add small balloons wherever you see holes. You can also make “clusters” by tying 3-4 little balloons together for extra fullness.
Accessorize: Strategically place any extras to take your arch from cute to “WOW!”
Celebrate Your Win: You did it! You just made a balloon arch like a total party pro - and no one has to know you didn’t hire help. (We won’t tell!)

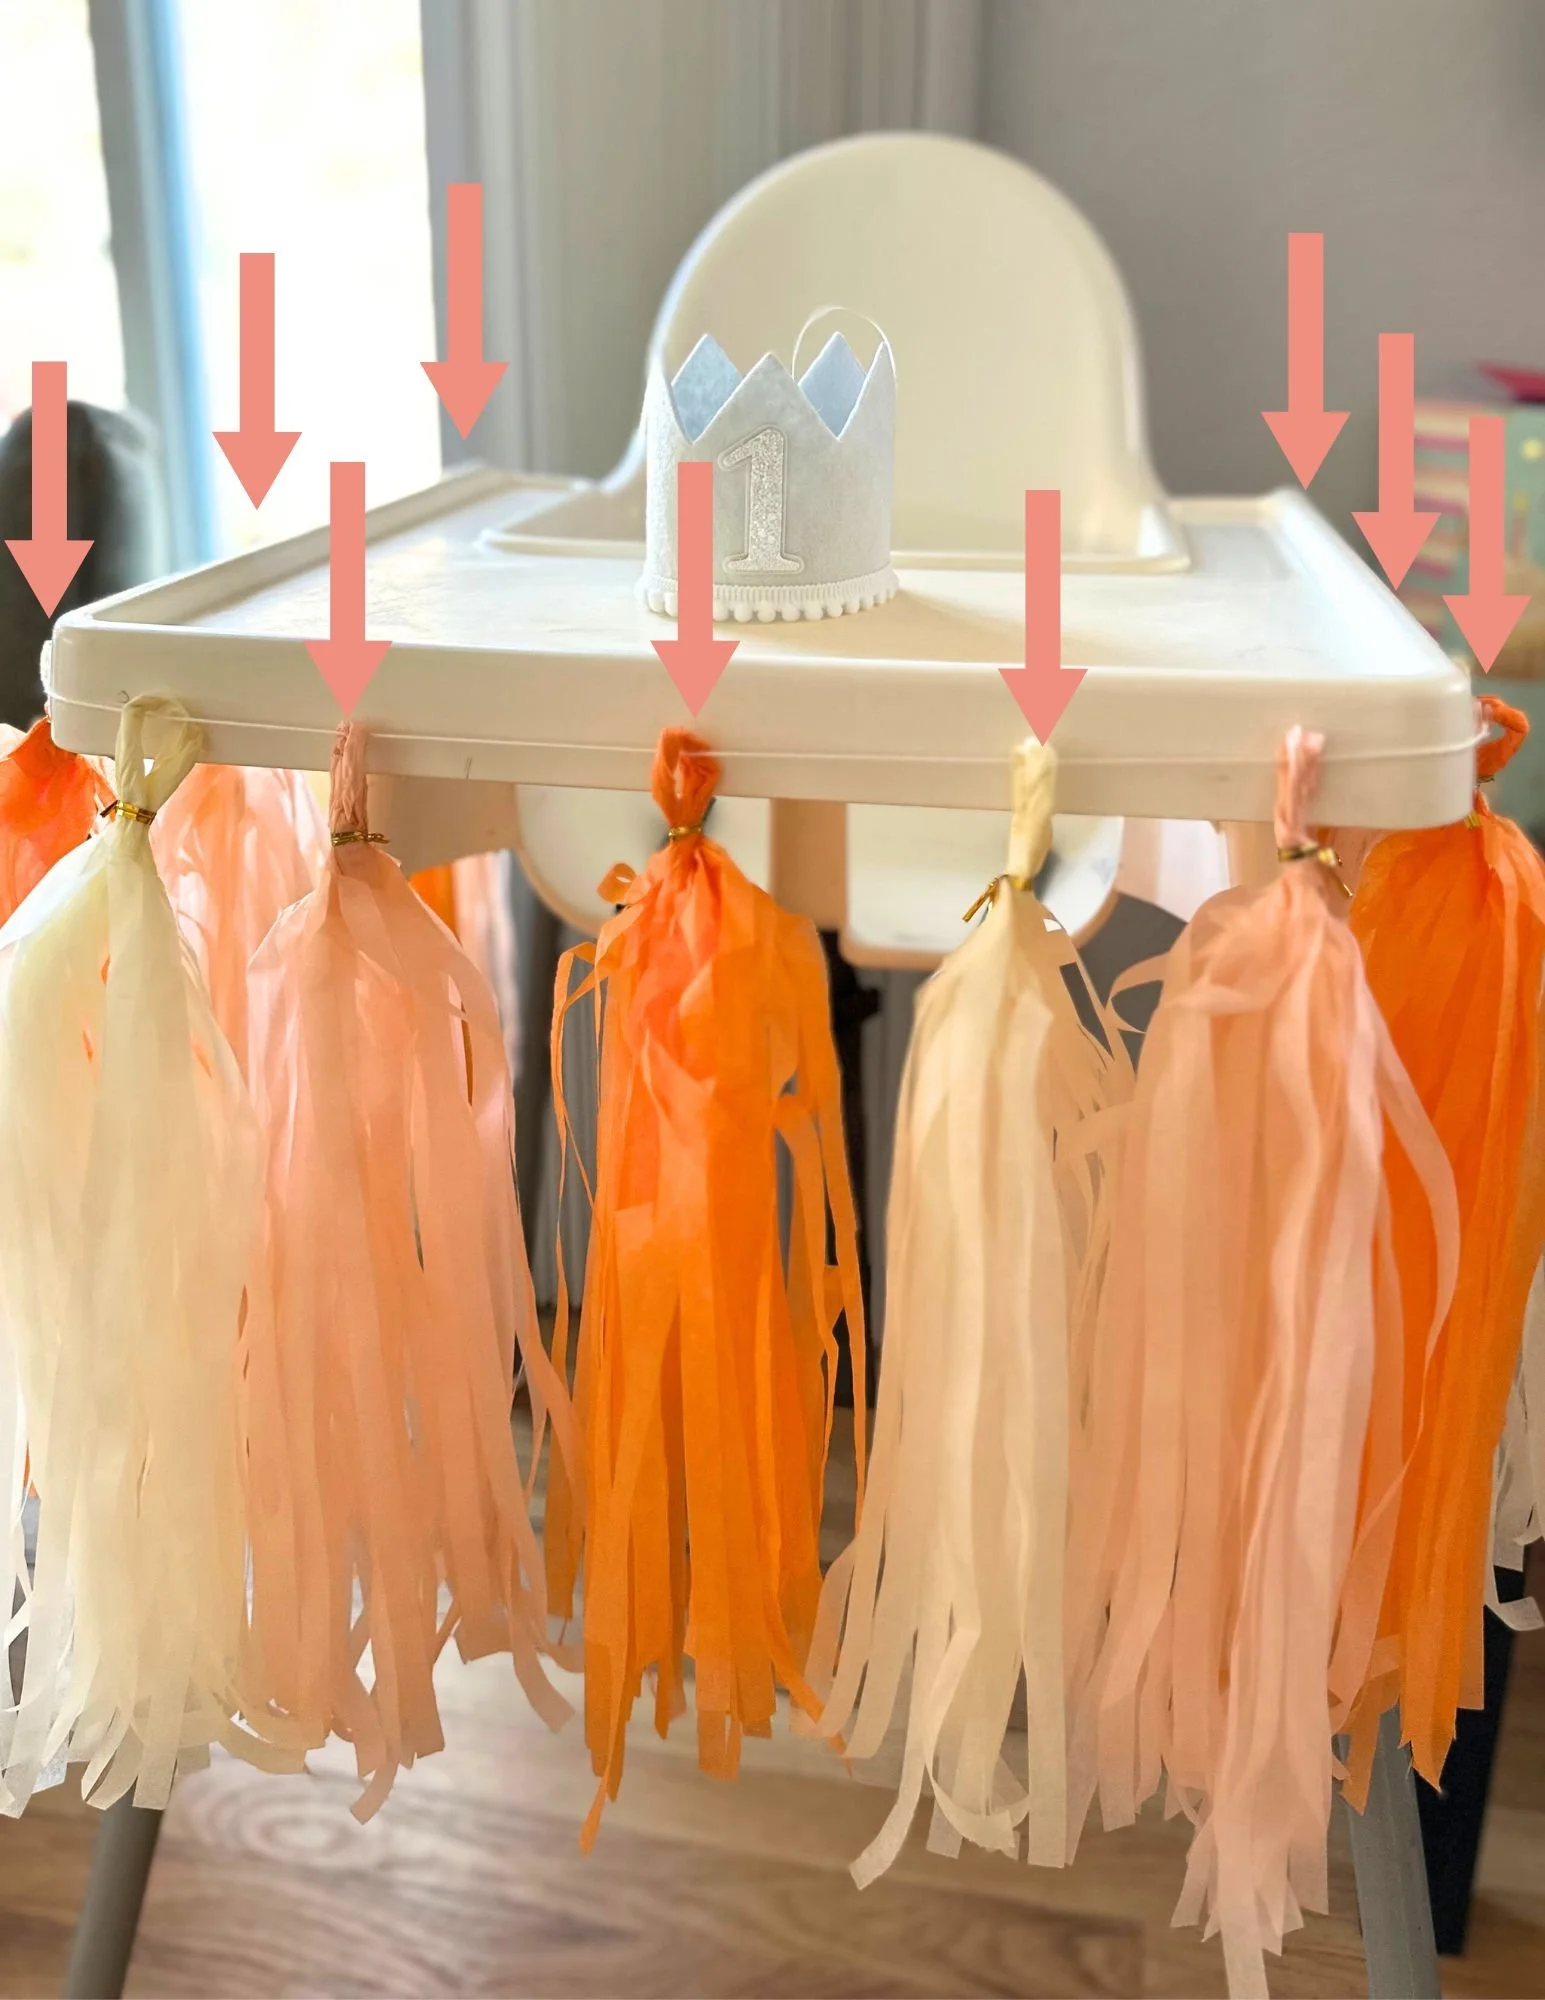
High Chair Banner Instructions
Your high chair tassel banner is totally customizable—just give it a little trim to fit your model perfectly! To set it up, start by attaching command hooks (included in your Party Prep Pack) at at least nine evenly spaced points along the front and sides of the high chair. Adjust the spacing as needed for the best look. Need a visual? Take a peek at the illustration and real-life example!
Let Them Eat Cake! Or not…
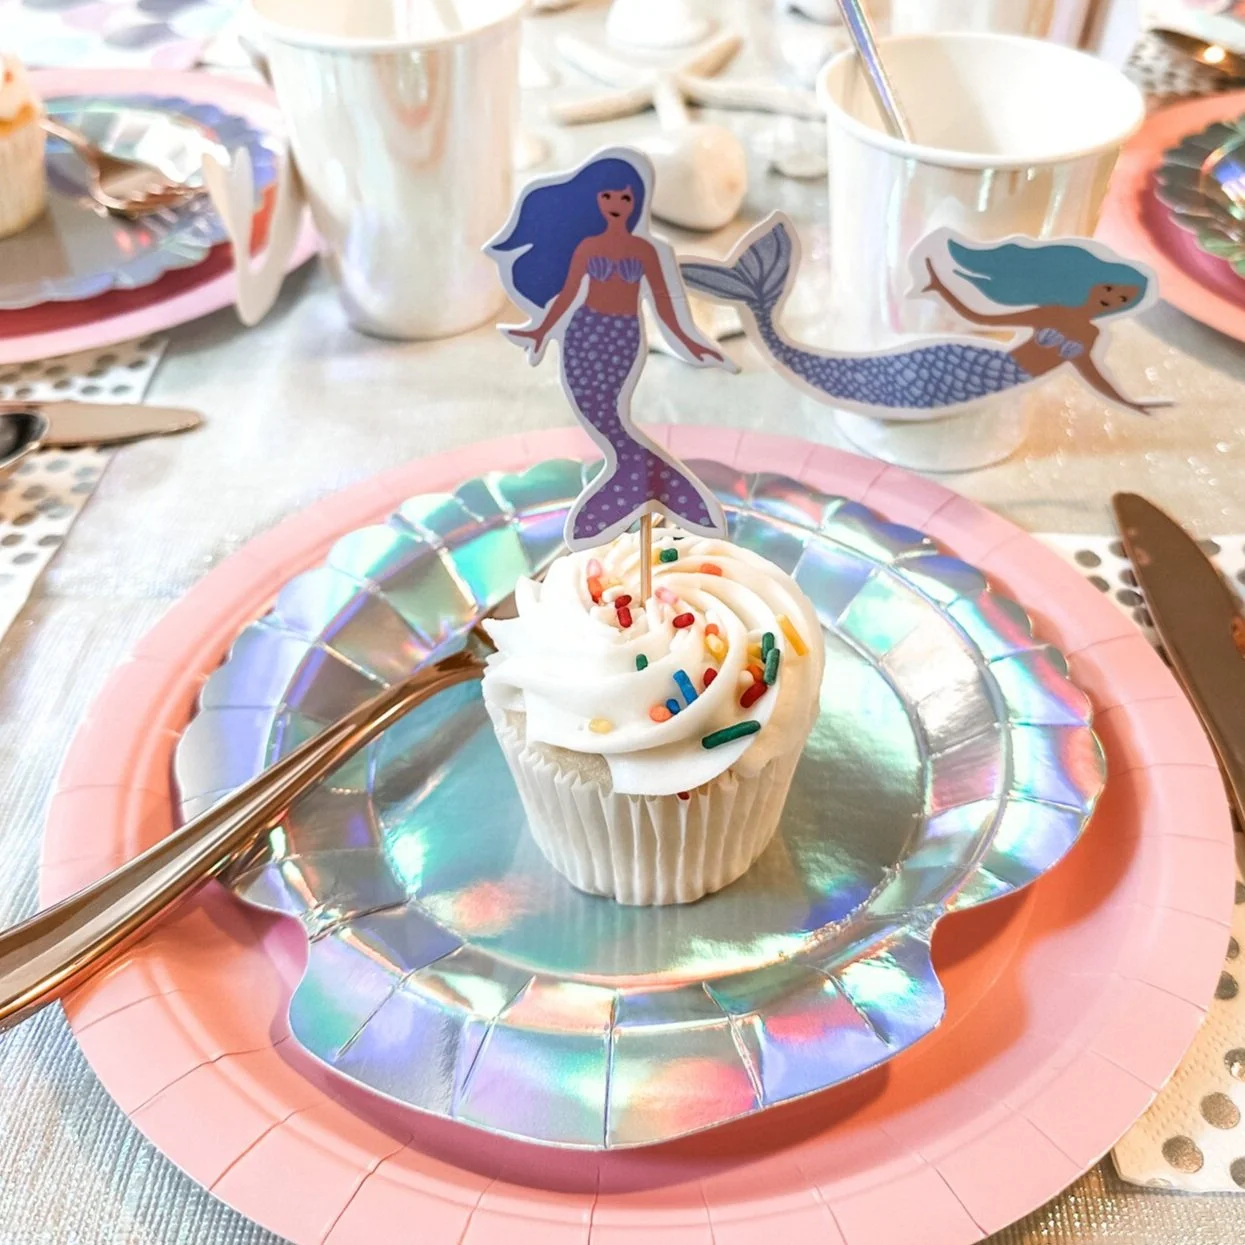
Not serving cupcakes? No problem! Use your cupcake toppers to skewer appetizers or garnish drinks or ice cream. You can also slide the toothpicks out and scatter them around the table for a little extra flair!
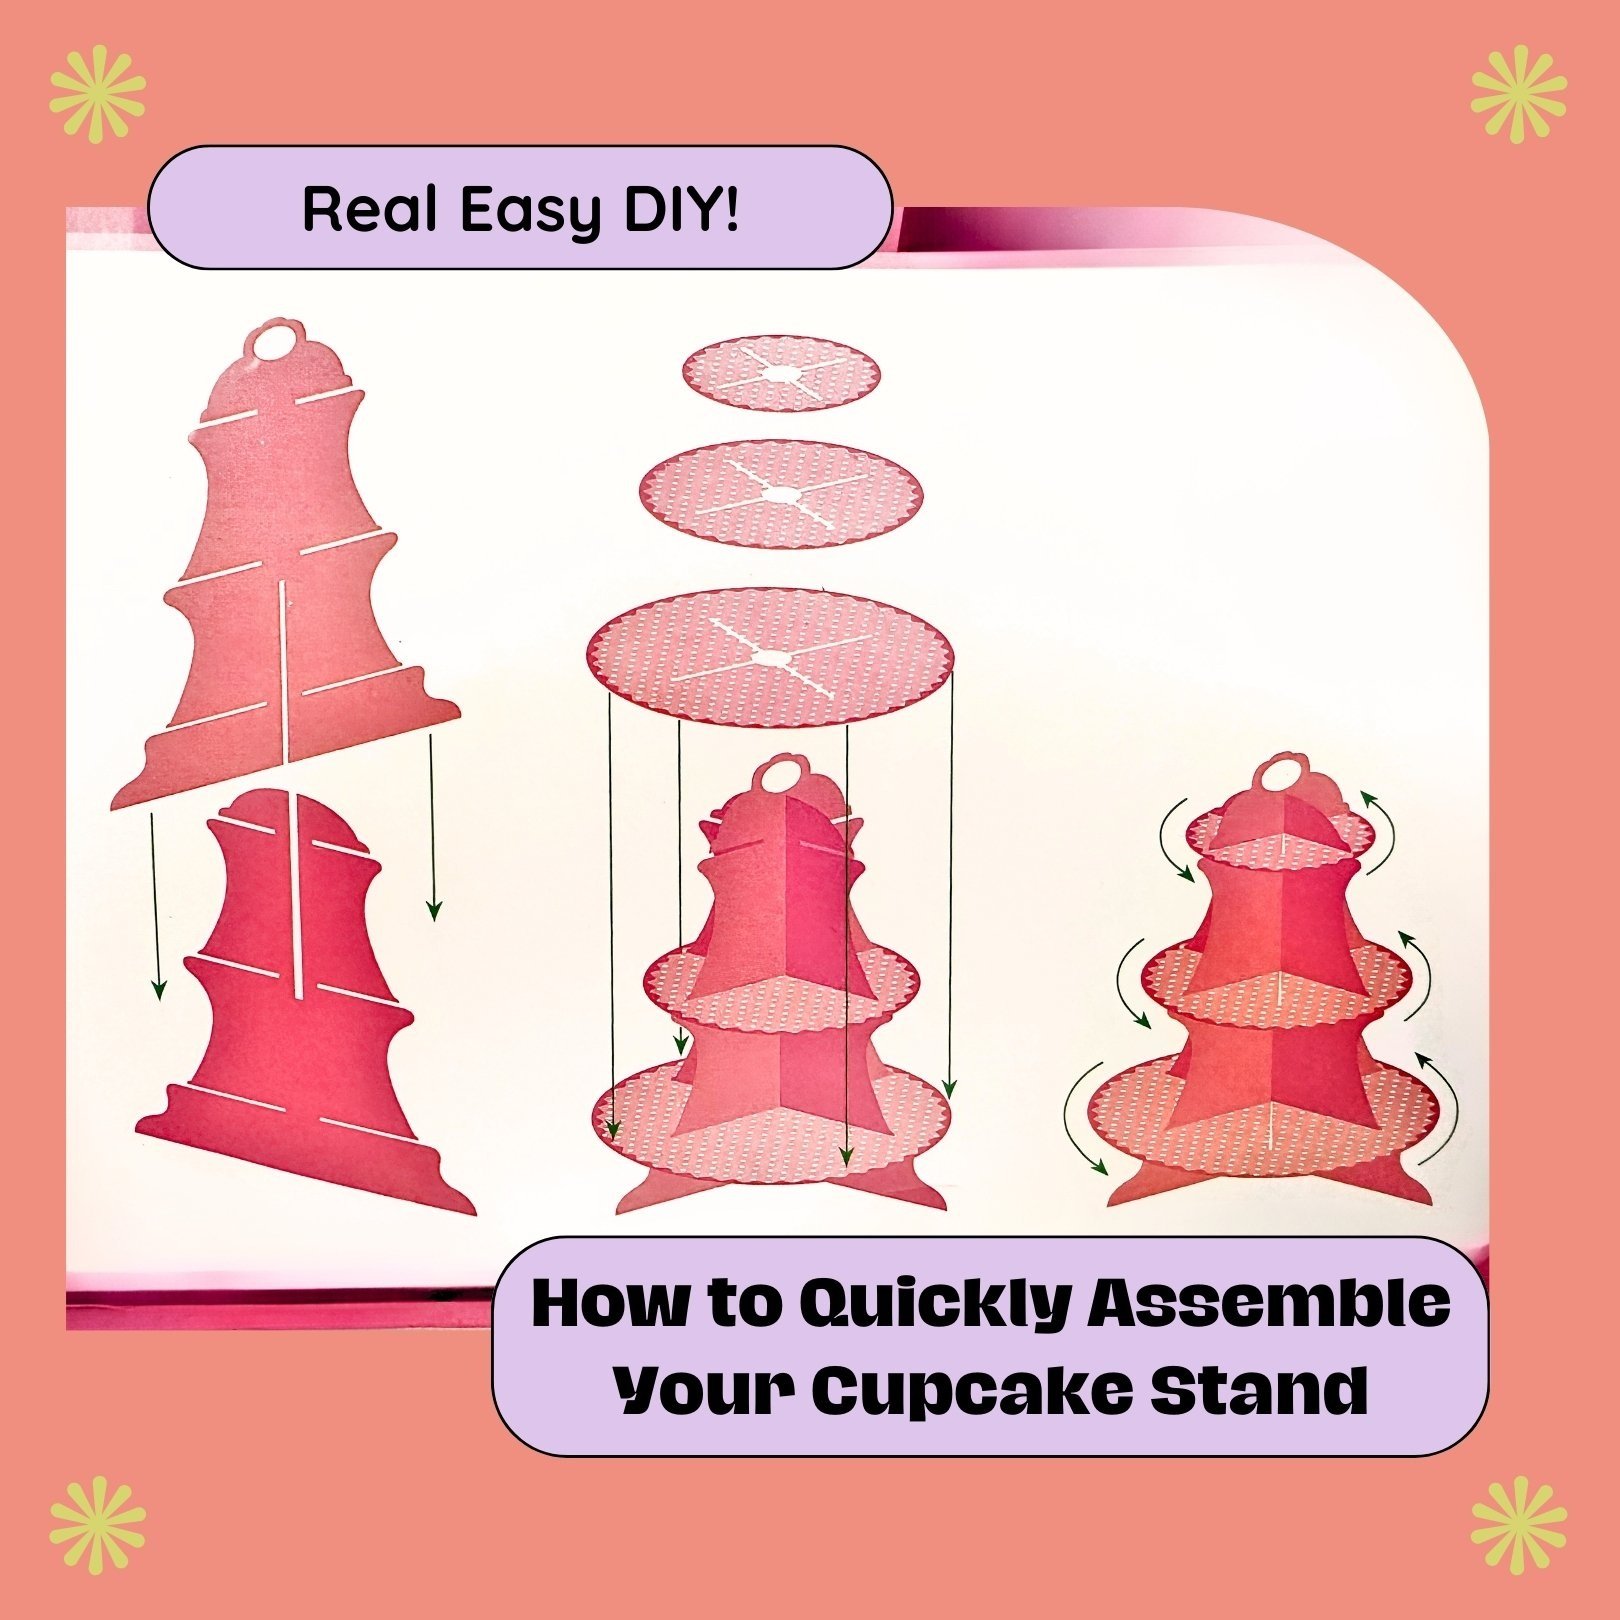

Did you know?
Did you know your adorable (and reusable) cake stand is reversible? If you’re not serving cake, flip it over to transform it into a chic serving tray! Ideal for serving chips + salsa, veggies + ranch, fruit + dip, pita bread + hummus, salad + dressing, or even a mini charcuterie spread. The possibilities are as endless as your imagination!

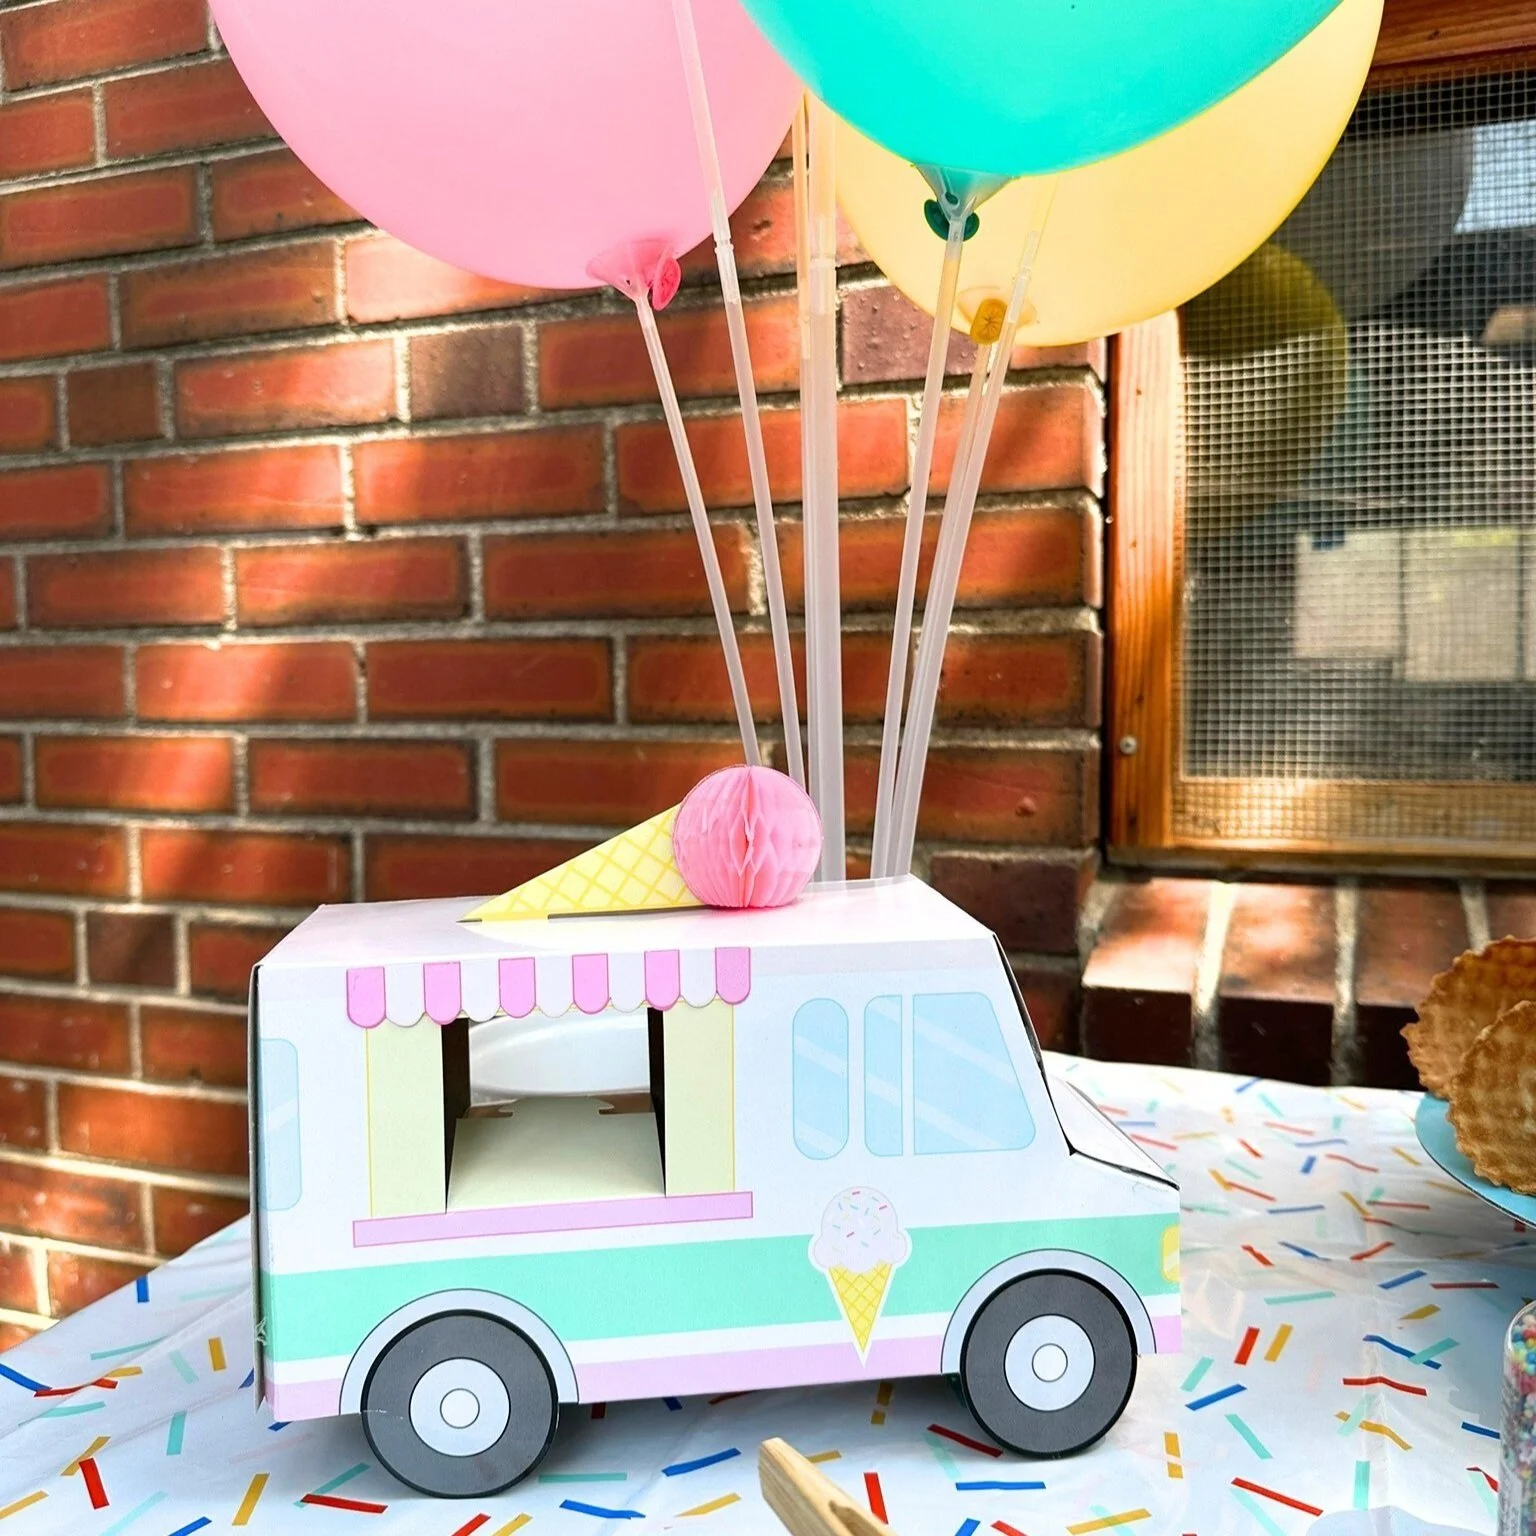
Click here for Scoops party set-up tips!
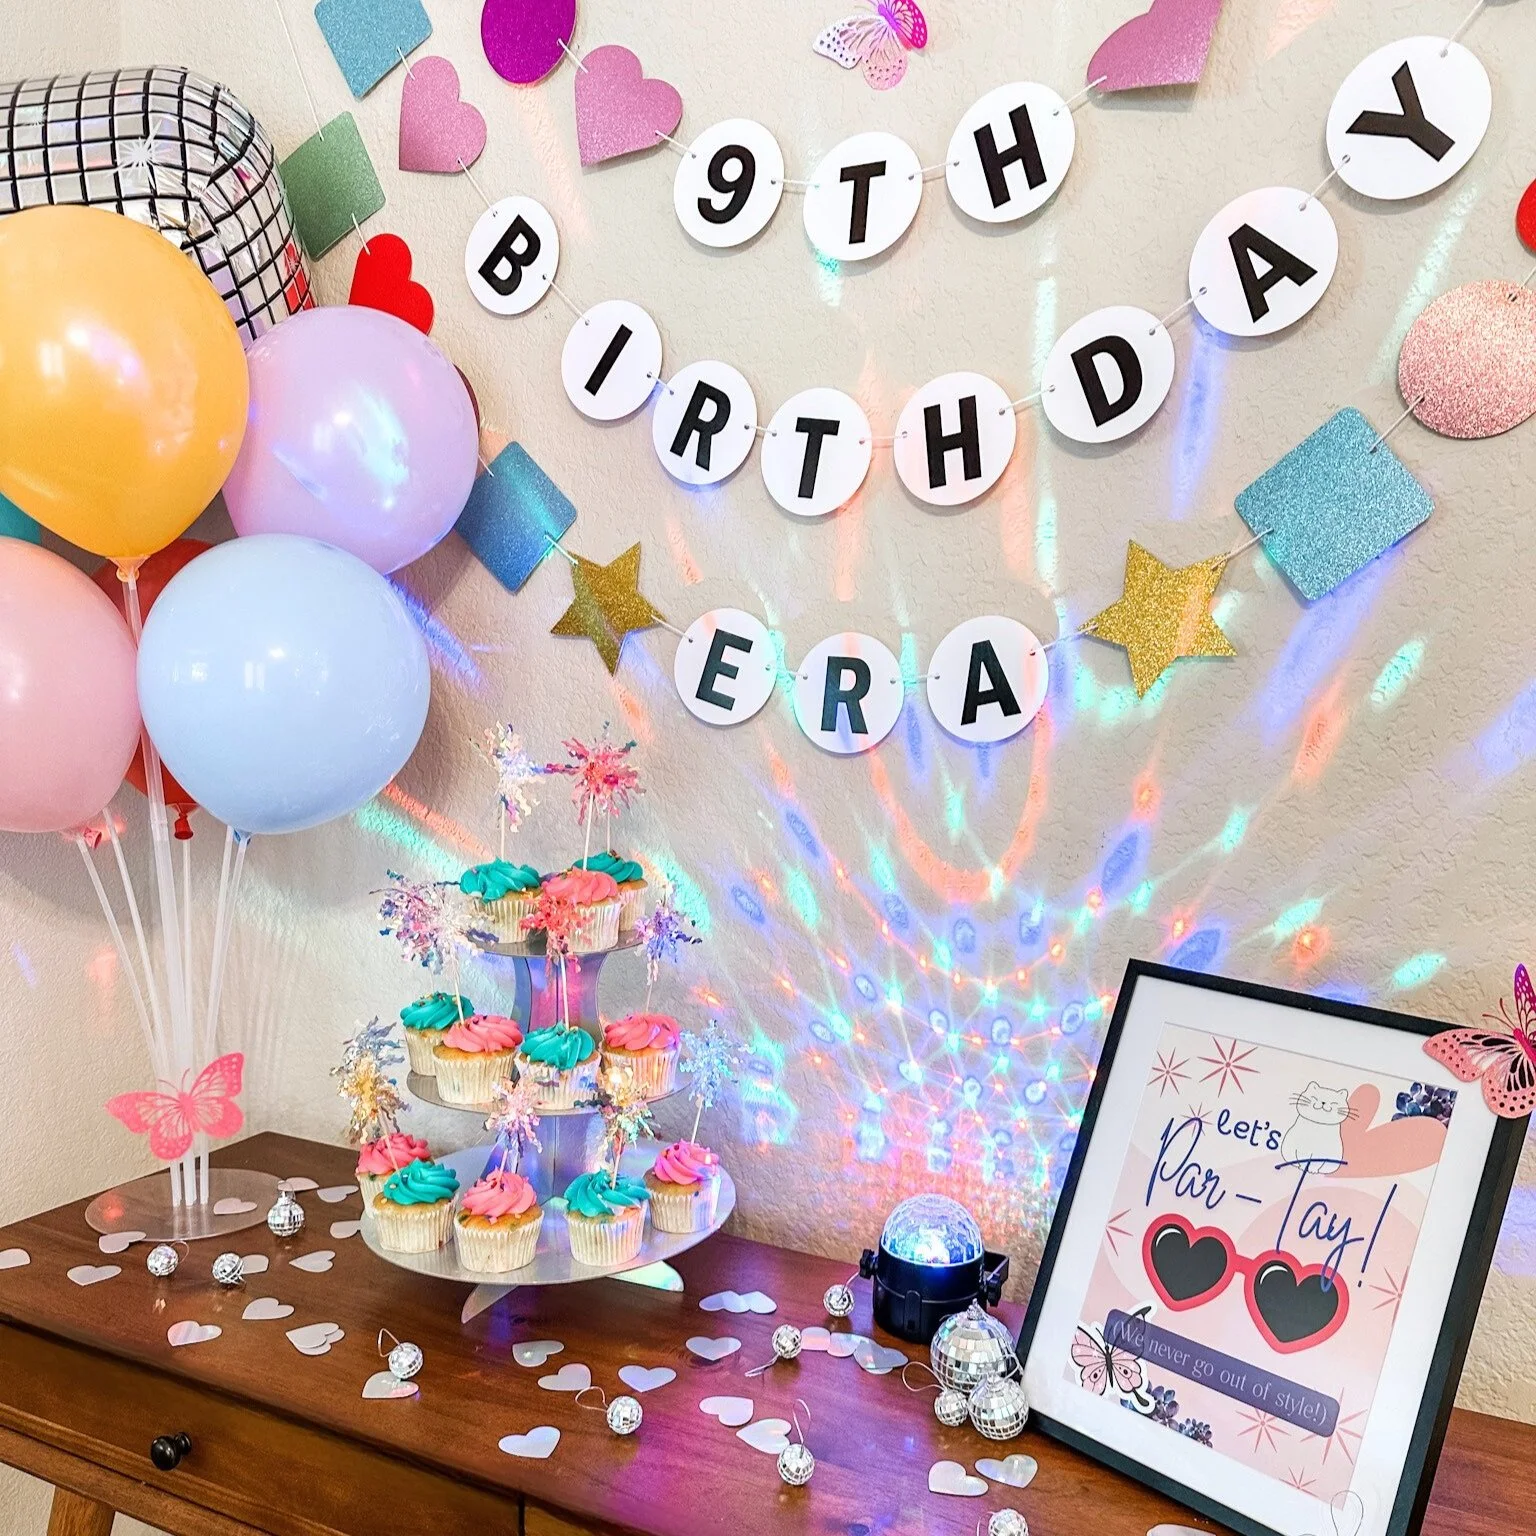
Click here for Swifties party set-up tips!

Click here for Mermaid Magic party set-up tips!

Click here for Fantastic Fairy-Tale party set-up tips!

Tag us!
Love your party-in-a-box? Share the joy by tagging us on our socials, or send us your pictures to post! If we feature your photos on our social media, we’ll send you a 20% to use on your next party as a thank you!
We’re truly honored to be a part of your special day. Here’s to crafting unforgettable memories together, and to enjoying the real happy hours with the ones you love!

Party Prep Pack
As a bonus, we’ve included a Party Prep Pack in your party box to help keep things simple! Your pack includes wall hooks + removable adhesive strips for hanging banners and decor, glue dots for anything you need to make stick, and several feet of string because you never know when you’ll need it!
Thank you for choosing us to be a part of your celebration! We're thrilled to offer you our exclusive Memories in the Making PDF bundle as a token of our appreciation. Inside, you'll find prompts for a yearly birthday interview (so fun to see how those answers evolve over the years!), a curated list of photo opportunities you won't want to miss, and reflective questions designed to help you remember the special day. Because while we're all about living in the moment, we also understand how those precious memories can slip away. We’re here to make capturing and cherishing them a breeze!
Cheers to creating more time, more joy, and more unforgettable memories together, one celebration at a time!